
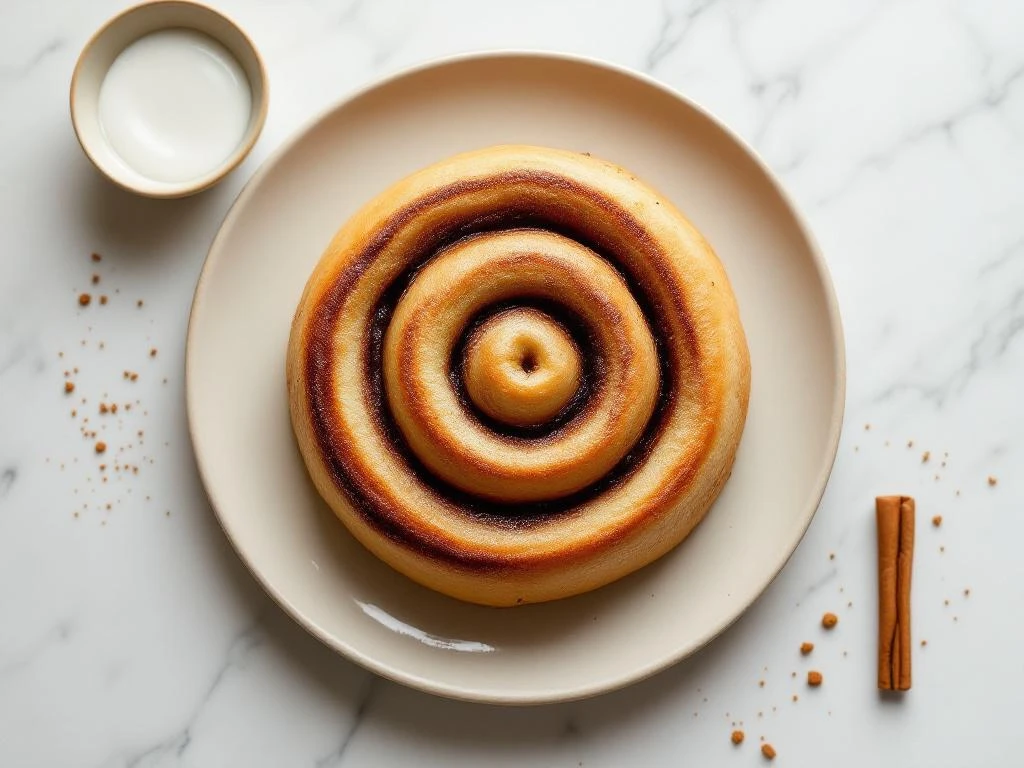
Gluten-free cinnamon rolls don’t have to be a compromise for people managing IBS or food sensitivities. With the right techniques and low FODMAP ingredients, you can create soft, fluffy rolls that taste just like traditional ones. This guide walks you through every step of making IBS-friendly cinnamon rolls that deliver on flavour and texture.
This recipe suits intermediate bakers who have basic gluten-free baking experience. You’ll need about 3 hours total, including rising time. The active work takes roughly 45 minutes. You’ll want a few essential tools on hand: a stand mixer or strong arms for mixing, parchment paper for rolling, a sharp knife or dental floss for cutting, and a baking tin.
The process involves preparing yeast dough without gluten development, handling delicate dough during rolling, and baking at the right temperature for soft results. We’ll cover ingredient substitutions that keep these rolls FODMAP-friendly whilst maintaining that classic cinnamon roll experience.
Why gluten-free cinnamon rolls work for IBS
Traditional cinnamon rolls contain wheat flour, which includes both gluten and high FODMAP fructans. For people with IBS, these fructans can trigger uncomfortable digestive symptoms. Gluten-free, low FODMAP cinnamon rolls replace wheat with suitable alternatives that won’t upset your gut.
The key substitutions make all the difference. A blend of rice flour and tapioca starch creates structure without gluten. Xanthan gum acts as a binder to hold everything together. Lactose-free milk or plant-based alternatives replace regular dairy. These swaps maintain the soft, tender crumb you expect from cinnamon rolls.
You’ll still get that warm cinnamon-sugar filling and sweet icing. The rolls rise beautifully with yeast, creating layers that pull apart just right. The texture might be slightly different from wheat-based versions, but most people can’t tell the difference once they taste the finished product.
Gather your gluten-free baking essentials
Start with your flour blend. You’ll need 300g gluten-free flour mix (look for blends containing rice flour, tapioca starch, and potato starch). Add 1 teaspoon xanthan gum if your flour blend doesn’t already include it. Check the label to be sure.
For the dough, gather 7g instant yeast (one standard sachet), 50g white sugar, 240ml lactose-free milk or almond milk (warmed to body temperature), 60g melted butter or dairy-free spread, 2 large eggs at room temperature, and 1/2 teaspoon salt.
The filling requires 100g brown sugar, 2 tablespoons ground cinnamon, and 40g softened butter or dairy-free alternative. For the icing, you’ll want 100g icing sugar, 2 tablespoons lactose-free milk, and 1/2 teaspoon vanilla extract.
Equipment-wise, you need a stand mixer with dough hook (or a large bowl and wooden spoon), two sheets of parchment paper for rolling, a rolling pin, a sharp knife or unflavoured dental floss for cutting, and a 23cm square baking tin lined with parchment.
Prepare the gluten-free yeast dough
Warm your lactose-free milk to about 37°C. It should feel warm but not hot when you test it on your wrist. Pour it into your mixer bowl and add the yeast plus 1 teaspoon of the sugar. Let this sit for 5 minutes until it becomes foamy. If it doesn’t foam, your yeast might be dead or your milk too hot. Start again with fresh yeast.
Add the remaining sugar, melted butter, eggs, and salt to the yeast mixture. Mix on low speed until combined. Add the gluten-free flour blend and xanthan gum. Mix on medium speed for 3 minutes. The dough will look more like thick cake batter than traditional bread dough. This is normal for gluten-free yeast dough.
Cover the bowl with a damp tea towel and place it somewhere warm. An oven with just the light on works well. Let the dough rise for 60 to 75 minutes until it doubles in size. Gluten-free dough takes longer to rise than wheat dough, so be patient.
Success check: The dough should look puffy and have visible air bubbles on the surface. If it hasn’t doubled after 90 minutes, your kitchen might be too cold. Give it more time or move it to a warmer spot.
Roll and fill your cinnamon rolls
Place a large sheet of parchment paper on your work surface. Dust it lightly with gluten-free flour. Scrape the risen dough onto the parchment. Place another sheet of parchment on top of the dough. This sandwich method prevents sticking without adding too much extra flour.
Roll the dough through the top parchment sheet into a rectangle roughly 30cm by 40cm. The dough should be about 5mm thick. Work gently because gluten-free dough tears more easily than wheat dough. If it tears, just press it back together with your fingers.
Remove the top parchment sheet. Spread the softened butter evenly over the dough, leaving a 2cm border along one long edge. Mix your brown sugar and cinnamon together, then sprinkle it evenly over the butter. Press the filling gently into the dough with your hands.
Starting from the long edge opposite the border, carefully roll the dough into a log. Use the bottom parchment to help you lift and roll. The dough will be soft and delicate. Take your time and support it as you go. When you reach the end, press the seam gently to seal it.
Use a sharp knife dipped in water or unflavoured dental floss to cut the log into 9 equal rolls. Dental floss works brilliantly: slide it under the log, cross the ends over the top, and pull tight to slice cleanly through without squashing the roll.
Bake to golden perfection
Arrange your cut rolls in the prepared baking tin with a bit of space between them. Cover loosely with cling film and let them rise for another 30 minutes. They should puff up and touch each other. This second rise creates the soft, fluffy texture you want.
Whilst the rolls rise, preheat your oven to 180°C (160°C fan). Position the rack in the centre of the oven for even baking. Remove the cling film from the risen rolls and place the tin in the preheated oven.
Bake for 25 to 30 minutes until the tops turn golden brown and the rolls feel firm when gently pressed. The internal temperature should reach 90°C if you have a food thermometer. Check at 25 minutes to prevent overbaking, which makes gluten-free baked goods dry.
Remove the tin from the oven and let the rolls cool in the tin for 10 minutes. They’ll firm up as they cool. Whilst they cool, whisk together your icing ingredients until smooth. Drizzle the icing over the warm (not hot) rolls.
Success check: The rolls should pull apart easily and have a soft, tender crumb. The centres should be fully cooked, not gummy. If they seem undercooked in the middle, return them to the oven for 5 more minutes.
Troubleshoot common gluten-free baking issues
Dense, heavy rolls usually mean the dough didn’t rise enough or you added too much flour. Make sure your yeast is fresh and active. Give the dough plenty of time to rise in a warm spot. When rolling out, use the parchment method rather than adding lots of extra flour.
If your dough is too sticky to handle, chill it in the fridge for 30 minutes before rolling. Cold dough is easier to work with. If it’s too dry and cracking, add milk one tablespoon at a time until it comes together. Different gluten-free flour blends absorb liquid differently.
Rolls that fall apart after baking need more binding. Add an extra 1/2 teaspoon xanthan gum next time. Make sure you’re mixing the dough for the full 3 minutes to activate the binders. Let the rolls cool completely before trying to remove them from the tin.
Uneven baking happens when rolls are different sizes or your oven has hot spots. Cut rolls as evenly as possible using the dental floss method. Rotate the tin halfway through baking if your oven bakes unevenly. An oven thermometer helps ensure accurate temperature.
At high altitude, yeast dough rises faster and can overproof. Reduce rising time by about 25% and watch the dough carefully. You might need to reduce sugar slightly and increase liquid by a tablespoon or two. Baking time may also decrease by 5 minutes.
These gluten-free cinnamon rolls prove that digestive-friendly baking doesn’t mean sacrificing flavour or texture. With practice, you’ll get a feel for handling the dough and knowing when it’s risen properly. The smell of cinnamon rolls baking makes the effort worthwhile, and having IBS-friendly options means everyone can enjoy them together.
Store leftover rolls in an airtight container at room temperature for 2 days or refrigerate for up to 5 days. Warm them gently in the microwave for 15 seconds to refresh that fresh-baked softness. You can also freeze unbaked rolls after cutting: arrange them in the tin, freeze until solid, then wrap well. Thaw overnight in the fridge and let them complete the second rise before baking.
Gluten-free cinnamon rolls
Cooking time: 3 hours (45 minutes active) | Portions: 9 rolls
Ingredients
Dough:
- 300g gluten-free flour blend (with rice flour and tapioca starch)
- 1 teaspoon xanthan gum (if not in flour blend)
- 7g instant yeast
- 50g white sugar
- 240ml lactose-free milk or almond milk, warmed
- 60g melted butter or dairy-free spread
- 2 large eggs, room temperature
- 1/2 teaspoon salt
Filling:
- 100g brown sugar
- 2 tablespoons ground cinnamon
- 40g softened butter or dairy-free alternative
Icing:
- 100g icing sugar
- 2 tablespoons lactose-free milk
- 1/2 teaspoon vanilla extract
Method
- Warm milk to 37°C, add yeast and 1 teaspoon sugar, let foam for 5 minutes
- Add remaining sugar, melted butter, eggs, and salt to yeast mixture
- Mix in flour blend and xanthan gum on medium speed for 3 minutes
- Cover and let rise in warm place for 60 to 75 minutes until doubled
- Roll dough between parchment sheets to 30cm by 40cm rectangle
- Spread with softened butter, sprinkle with cinnamon-sugar mixture
- Roll into log and cut into 9 equal pieces
- Arrange in lined 23cm tin, cover, and rise 30 minutes
- Bake at 180°C for 25 to 30 minutes until golden
- Cool 10 minutes, then drizzle with icing
This recipe is for informational purposes only and is not medical or dietary advice. Please consult a healthcare professional before making any changes to your diet.
Related Articles
- Grilled Bacon with Roasted Tomatoes
- Raspberry Chia Breakfast Pudding
- Blueberry Almond Overnight Oats
- Lactose-Free Cottage Cheese with Pineapple
- Can I eat steak on a FODMAP diet?