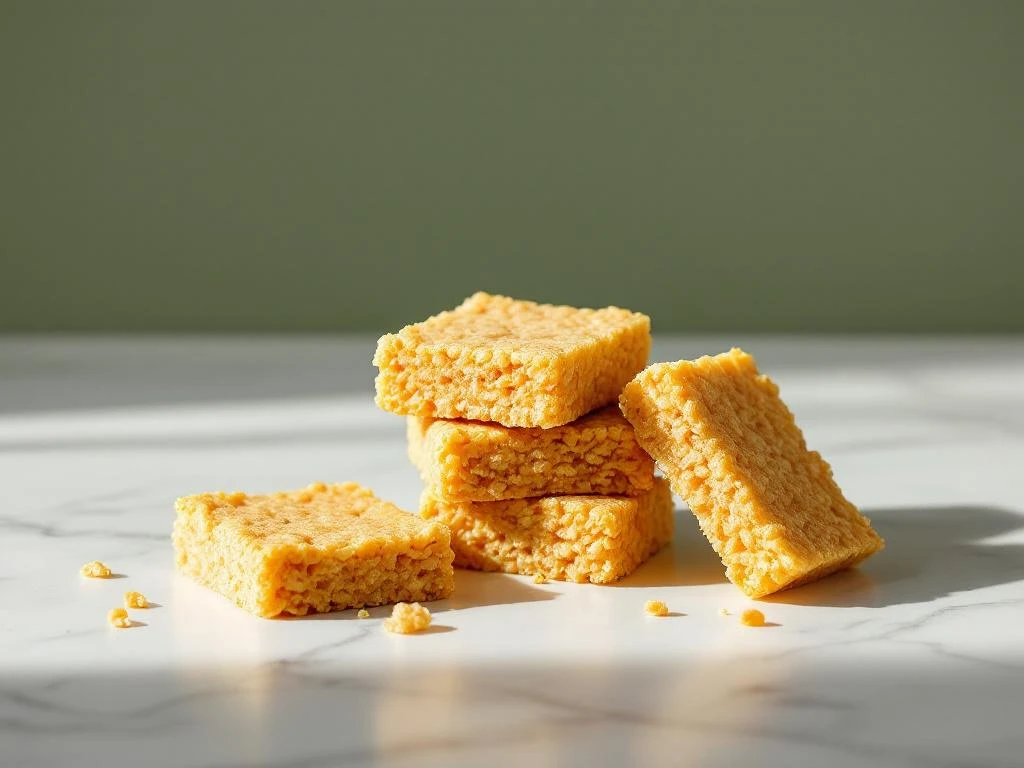
Making breakfast quick and easy when you have IBS doesn’t mean sacrificing taste or nutrition. These homemade rice crispy breakfast bars give you a portable, gut-friendly option that takes just 15 minutes of active time. You’ll create bars that are gentle on your digestive system while providing lasting energy throughout your morning.
This recipe is suitable for beginners and requires no baking. You’ll need basic kitchen equipment you probably already have, plus simple low FODMAP ingredients. The bars stay fresh for up to a week, making them perfect for meal prep.
Before you start, gather these essentials: a medium saucepan, a 20x20cm baking pan, parchment paper, a wooden spoon, and a sharp knife. You’ll also need rice cereal (check it’s gluten free), a binding agent like golden syrup or maple syrup, and butter or a suitable alternative.
Why rice crispy breakfast bars work for low FODMAP diets
Rice cereal forms the foundation of these bars because rice is naturally low FODMAP and gentle on sensitive digestive systems. Unlike wheat-based cereals that can trigger IBS symptoms, rice provides carbohydrates without the FODMAPs that cause bloating and discomfort.
These bars offer several advantages for anyone managing food sensitivities. They’re portable, so you can grab one when rushing out the door. The simple ingredient list means you control exactly what goes into your breakfast. You avoid the hidden FODMAPs often found in shop-bought granola bars or breakfast biscuits.
The nutritional profile works well for starting your day. Rice provides quick energy, while the binding ingredients add calories to keep you satisfied until lunch. You can boost nutrition further by adding low FODMAP seeds or a drizzle of dark chocolate.
These IBS friendly breakfast bars also solve the common problem of limited morning options. When you can’t tolerate regular cereals, bread, or pastries, having a batch of these in your kitchen gives you reliable variety.
Gather your ingredients and tools
Start with your rice cereal selection. You need 4 cups of puffed rice cereal. Check the label carefully to ensure it’s gluten free and doesn’t contain high FODMAP additives like honey or inulin. Plain rice cereal works best.
For binding the bars together, choose one of these options:
- 60g butter (or lactose-free butter)
- 150ml golden syrup or maple syrup
- 2 tablespoons smooth peanut butter (optional, only if tolerated)
Optional additions that remain low FODMAP include:
- 2 tablespoons pumpkin seeds
- 2 tablespoons sunflower seeds
- 30g dark chocolate chips (check FODMAP serving size)
- 1 teaspoon vanilla extract
- Pinch of salt
Your kitchen tools should include a medium saucepan for melting ingredients, a wooden spoon for stirring, and a 20x20cm square baking pan. Line the pan with parchment paper, leaving extra hanging over the edges. This makes removing the bars much easier later.
You’ll also need a spatula for pressing the mixture flat and a sharp knife for cutting. Have these ready before you start cooking, as the mixture sets quickly once you begin working with it.
Prepare the rice crispy mixture
Place your saucepan on low heat. Add the butter and syrup together. Stir gently as they melt, watching carefully to prevent burning. The mixture should become smooth and combined, which takes about 3 minutes.
Once melted, remove the pan from heat immediately. If you’re adding peanut butter or vanilla extract, stir them in now whilst the mixture is still warm. The residual heat will help everything blend smoothly.
Pour your rice cereal into a large mixing bowl. Make sure the bowl is big enough to allow comfortable stirring without spilling. Pour the warm syrup mixture over the cereal.
Here’s where technique matters: fold the mixture gently rather than stirring vigorously. Use a lifting and folding motion with your wooden spoon. This coats every piece of cereal without crushing it. Crushed cereal creates dense, hard bars instead of the light, crispy texture you want.
If you’re adding seeds or chocolate chips, fold them in last. Work quickly but carefully. The mixture becomes harder to work with as it cools.
Check that the syrup coats all the cereal evenly. You shouldn’t see dry patches of uncoated cereal, but the mixture shouldn’t be dripping with excess syrup either. The consistency should feel sticky but manageable.
Temperature tips for perfect binding
The mixture works best when it’s warm but not hot. If it’s too hot, you’ll melt any chocolate additions. If it’s too cool, it won’t spread easily in the pan. Aim to work with it within 2 minutes of combining the cereal and syrup.
Shape and set the breakfast bars
Transfer your mixture into the prepared baking pan immediately. Dump it all in at once, then use your spatula to spread it roughly towards the corners.
Now comes the pressing technique. Place a piece of parchment paper on top of the mixture. Use the bottom of a glass or measuring cup to press down firmly and evenly. Work from the centre outwards, applying steady pressure.
The goal is even thickness throughout the pan. Thinner spots will be too crispy and break easily. Thicker spots won’t set properly. Check by looking at the pan from the side. The surface should be level and compact.
Don’t press too hard or you’ll create rock-hard bars that hurt your teeth. The mixture should feel firm but have a slight give when you press it with your finger.
Leave the bars to set at room temperature for at least 2 hours. Don’t rush this step by putting them in the fridge. Rapid cooling can make the texture too hard and brittle.
Cutting technique for clean edges
Once set, lift the entire block out using the parchment paper overhang. Place it on a cutting board. Use a large, sharp knife and cut with a gentle sawing motion rather than pressing straight down.
Wipe the knife clean between cuts. This prevents crumbs from making messy edges on your bars. Cut into 12 even rectangles or 16 smaller squares, depending on your preferred portion size.
Store the bars in an airtight container with parchment paper between layers. They’ll stay fresh at room temperature for 5 days, or you can refrigerate them for up to a week. The texture becomes slightly firmer when chilled.
Customise with low FODMAP variations
Dark chocolate transforms these from simple to indulgent. Melt 50g of dark chocolate (check it’s at least 70% cocoa) in the microwave in 20-second bursts. Drizzle it over the set bars using a spoon. Let the chocolate harden before storing.
For a nut-free version that adds protein, try tahini instead of peanut butter. Use 2 tablespoons and stir it into the melted syrup mixture. Tahini is low FODMAP in small serves and adds a subtle nutty flavour.
Seed variations add crunch and nutrition. Pumpkin seeds and sunflower seeds are both low FODMAP. You can use up to 4 tablespoons total mixed into the cereal. They provide healthy fats and make the bars more filling.
Dried cranberries work in very small amounts. Limit to 1 tablespoon for the entire batch, as dried fruit becomes high FODMAP quickly. Chop them finely and distribute throughout the mixture.
Seasonal adaptations keep things interesting. Add a pinch of cinnamon in autumn, or use orange zest in winter. A tiny amount of grated fresh ginger (¼ teaspoon for the batch) adds warmth without triggering symptoms.
Flavour combinations that work
Try these tested pairings: chocolate and orange zest, tahini and dark chocolate, pumpkin seeds and cinnamon, or sunflower seeds with vanilla. Each combination maintains the low FODMAP profile whilst adding variety to your breakfast rotation.
Troubleshoot common rice crispy bar problems
Bars that turn out too hard usually mean you used too much syrup or pressed too firmly. The mixture should bind together but still feel light. If your current batch is too hard, try using 10ml less syrup next time and pressing more gently.
Bars that fall apart indicate insufficient binding. This happens when you don’t use enough syrup or when the mixture cools too much before pressing. Make sure you’re using the full amount of syrup specified and work quickly whilst everything is still warm.
If your cereal becomes crushed, you’re stirring too vigorously. Remember to fold gently rather than mixing hard. Use a lifting motion instead of circular stirring. The cereal is delicate and breaks easily under pressure.
Bars that won’t come out of the pan mean you skipped the parchment paper or didn’t leave enough overhang. Always line your pan completely and leave at least 5cm hanging over two opposite sides. This creates handles for lifting.
Mixture that won’t bind properly might be due to old cereal that has absorbed moisture from the air. Fresh, crispy cereal works best. Check your cereal is still crunchy before you start. Stale cereal won’t crisp up again after mixing.
Temperature-related texture issues
Working in a very cold kitchen can make the mixture set too quickly. If this happens, warm your mixing bowl slightly with hot water, then dry it completely before adding the cereal. This gives you a few extra minutes of working time.
Hot, humid weather can prevent proper setting. In summer, refrigerate the bars for 30 minutes after the initial room temperature set. This firms them up without making them too hard.
These homemade breakfast bars solve the challenge of finding convenient, gut-friendly morning food. With practice, you’ll develop a feel for the right consistency and pressing technique. Keep a batch ready in your kitchen, and you’ll always have a reliable breakfast option that works with your digestive needs.
Rice crispy breakfast bars
Cooking Time: 15 minutes active, 2 hours setting | Portions: 12 bars
- 4 cups gluten free puffed rice cereal
- 60g butter or lactose-free butter
- 150ml golden syrup or maple syrup
- Optional: 2 tablespoons seeds, 30g dark chocolate chips, 1 teaspoon vanilla extract
Method:
- Line a 20x20cm baking pan with parchment paper
- Melt butter and syrup together in a saucepan over low heat (3 minutes)
- Remove from heat and add vanilla if using
- Place rice cereal in a large bowl
- Pour warm syrup mixture over cereal and fold gently to coat
- Add seeds or chocolate chips if desired
- Transfer to prepared pan and press firmly with parchment paper and a flat-bottomed glass
- Let set at room temperature for 2 hours
- Lift out using parchment overhang and cut into 12 bars
- Store in an airtight container for up to 5 days at room temperature or 7 days refrigerated
This recipe is for informational purposes only and is not medical or dietary advice. Please consult a healthcare professional before making any changes to your diet.
Related Articles
- What are the top 10 low FODMAP foods?
- What should I drink first in the morning with IBS?
- What chips or crackers are low in FODMAP?
- Scrambled Eggs with Sun-Dried Tomato Pesto
- Lactose-Free Cottage Cheese with Pineapple