Making chia seed pudding with raspberries is one of the simplest ways to prepare a healthy breakfast that works with a low FODMAP diet. This easy chia recipe takes just five minutes of active work, though you’ll need to let it set overnight for the best texture. If you’re managing IBS or following a lactose free dessert plan, this gluten free pudding offers a satisfying option that won’t trigger digestive symptoms. You’ll need basic kitchen tools you likely already have, plus a few FODMAP friendly ingredients. By morning, you’ll have a ready-to-eat breakfast that supports your digestive health without compromising on taste.
Why chia seed pudding works for IBS
Chia seeds fit perfectly into a low FODMAP breakfast routine because they’re naturally low in FODMAPs at appropriate serving sizes. A safe portion is two tablespoons of chia seeds per serving, which provides soluble fibre that can help regulate digestion without causing the bloating or discomfort that high FODMAP foods trigger. This type of fibre absorbs water and forms a gel-like consistency that moves gently through your digestive system.
The nutritional benefits extend beyond fibre content. Chia seeds contain omega-3 fatty acids, protein, and minerals that support overall health. When you combine them with lactose-free milk, you create a complete IBS friendly breakfast that provides sustained energy without irritating sensitive digestive systems. The raspberries add natural sweetness and additional nutrients whilst staying within low FODMAP limits at a quarter cup per serving.
This raspberry chia pudding works for people with food sensitivities because every ingredient can be controlled and customised. You choose the milk alternative that suits you best, adjust sweetness to your preference, and select toppings that match your specific dietary needs. The overnight chia pudding method also makes mornings easier, since you prepare everything the night before and simply grab it from the fridge when you’re ready to eat.
Gather your ingredients and tools
For one serving of this FODMAP friendly dessert, you’ll need two tablespoons of chia seeds and 180ml of lactose-free milk. Any lactose-free milk works, whether you prefer almond milk, oat milk (in small amounts), or lactose-free dairy milk. Fresh or frozen raspberries work equally well, just stick to a quarter cup (about 30g) to maintain low FODMAP status.
Optional ingredients include one tablespoon of pure maple syrup for sweetness, though this is entirely based on your taste preference. Some people find the raspberries provide enough natural sweetness. You might also want vanilla extract (a quarter teaspoon) to enhance flavour without adding FODMAPs.
The kitchen tools required are minimal. You’ll need a small bowl or jar for mixing, a whisk or fork for combining ingredients, measuring cups and spoons for accuracy, and a container with a lid for refrigeration. Glass jars work particularly well because you can mix, store, and serve all in the same container, which saves washing up.
Checking ingredient quality
Look for chia seeds that are uniform in colour (either black or white) without excessive dust or debris in the package. Check the expiry date on your lactose-free milk, as fresh milk creates better texture. For raspberries, fresh berries should be firm and dry, whilst frozen raspberries should be individually frozen rather than clumped together in ice.
Prepare your chia seed pudding base
Pour the lactose-free milk into your bowl or jar. Add the two tablespoons of chia seeds directly to the milk. The ratio of liquid to seeds matters for achieving the right consistency, so measure carefully. Too many seeds create a thick, paste-like texture, whilst too few leave you with a watery mixture.
Whisk vigorously for about 30 seconds to distribute the chia seeds evenly throughout the liquid. This step prevents clumping, which is the most common issue with this healthy breakfast recipe. The seeds will try to stick together immediately upon contact with liquid, so thorough mixing at this stage makes a significant difference in the final texture.
If you’re adding maple syrup or vanilla extract, stir these in now whilst everything is well combined. Place the container in the refrigerator immediately. After five minutes, remove it and whisk again. This second whisking breaks up any clumps that formed during the initial setting period and ensures even distribution as the pudding thickens.
Temperature considerations
Cold milk straight from the fridge works best. Room temperature or warm milk can create an uneven texture as the chia seeds absorb liquid at different rates. If you’ve just purchased your milk, make sure it’s been chilled for at least an hour before using it in this recipe.
Add raspberries and customize toppings
After your overnight chia pudding has set, add the raspberries. You can mix them directly into the pudding or layer them on top for visual appeal. If using frozen raspberries, you can add them whilst still frozen (they’ll thaw in the fridge overnight) or thaw them separately and add just before eating. Frozen berries release more juice, which creates a pink-tinted pudding if mixed in.
For layering, spoon half the chia pudding into your serving glass, add half the raspberries, then top with the remaining pudding and berries. This creates an attractive presentation if you’re serving guests or simply want to make breakfast feel special.
Additional FODMAP friendly toppings include a tablespoon of chopped walnuts or pecans, unsweetened coconut flakes (one tablespoon), or a few slices of kiwi fruit (half a medium kiwi stays within low FODMAP limits). Avoid high FODMAP additions like honey, dried fruit, or large amounts of nuts. A small amount of dark chocolate shavings (five grams) also works if you want extra richness.
Portion control for toppings
Whilst individual toppings might be low FODMAP in small amounts, combining multiple toppings can push your total FODMAP load too high. Stick to one or two additional toppings beyond the raspberries to keep this an IBS friendly breakfast that won’t cause symptoms.
How long should chia pudding set?
The minimum setting time is two hours in the refrigerator, though this creates a thinner consistency that some people find less satisfying. For the classic pudding texture that’s thick and creamy, refrigerate for at least eight hours or overnight. The chia seeds need time to fully absorb the liquid and swell to their maximum size.
You’ll know your pudding is ready when it holds together on a spoon rather than running off immediately. The texture should be similar to tapioca pudding, with individual chia seeds visible throughout a thick, gel-like base. If you tilt the container, the pudding should move slowly rather than sloshing like liquid.
The stirring recommendation is to whisk once after five minutes of initial refrigeration, then leave it undisturbed for the remaining time. Some recipes suggest stirring multiple times, but this isn’t necessary and can actually prevent the pudding from setting properly. The seeds need stable conditions to absorb liquid evenly.
For meal prep purposes, this pudding stores well for up to five days in the refrigerator. Make several portions at once on Sunday evening, and you’ll have breakfast ready for the work week. Keep the pudding in sealed containers to prevent it from absorbing refrigerator odours. Add fresh toppings like raspberries each morning rather than storing them mixed in, as this keeps the berries from becoming too soft.
Troubleshoot common chia pudding issues
If your pudding turns out too thick, it means the chia seeds absorbed all available liquid and need more moisture. Fix this by stirring in additional lactose-free milk one tablespoon at a time until you reach the desired consistency. Let it sit for a few minutes after each addition so the seeds can absorb the extra liquid.
Pudding that’s too thin indicates either insufficient chia seeds or not enough setting time. If you’ve only refrigerated for two or three hours, simply leave it longer. If it’s been overnight and still seems watery, whisk in another half tablespoon of chia seeds and refrigerate for another hour. This should thicken it up properly.
Clumpy texture results from inadequate initial mixing. Unfortunately, once clumps form and set, they’re difficult to break up completely. You can pour the pudding into a blender and pulse a few times to break up clumps, though this changes the texture to something smoother and less like traditional chia pudding. Prevention through thorough whisking works better than trying to fix clumps after they’ve formed.
Lack of flavour is easily fixed. This often happens when you skip the optional sweetener or vanilla. Stir in maple syrup to taste, add a pinch of cinnamon, or increase the amount of raspberries. You can also try a different milk alternative, as some have more natural sweetness than others. Oat milk (in appropriate low FODMAP amounts) tends to be naturally sweeter than almond milk.
Brand and milk alternative adjustments
Different chia seed brands can vary slightly in size, which affects absorption rates. Smaller seeds absorb liquid faster and create a finer texture, whilst larger seeds take longer to hydrate fully. If you switch brands and notice different results, adjust your liquid ratio by a tablespoon or two in either direction.
Milk alternatives also behave differently. Thicker milks like coconut milk (canned, in small amounts) create a richer pudding with less liquid needed. Thinner milks like rice milk might require slightly less liquid or more chia seeds to achieve the same consistency. Start with the standard ratio and adjust based on your results.
Making a perfect batch of this gluten free pudding becomes easier each time you prepare it. You’ll learn your preferred thickness, sweetness level, and favourite topping combinations. The beauty of this recipe lies in its flexibility whilst remaining safely within low FODMAP guidelines that support your digestive health.
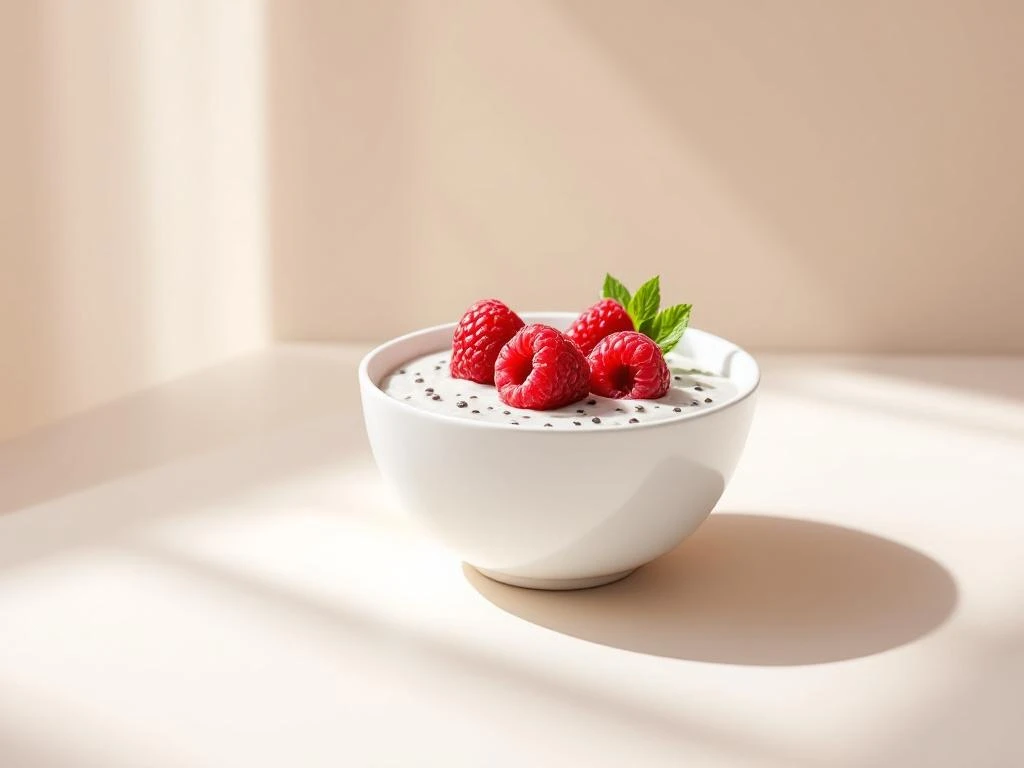
Chia seed pudding with raspberries
Prep time: 5 minutes | Setting time: 8 hours (overnight) | Portions: 1 serving
- 2 tablespoons chia seeds
- 180ml lactose-free milk (almond, oat in small amounts, or lactose-free dairy)
- ¼ cup (30g) fresh or frozen raspberries
- 1 tablespoon pure maple syrup (optional)
- ¼ teaspoon vanilla extract (optional)
Instructions:
- Pour lactose-free milk into a jar or bowl
- Add chia seeds and whisk vigorously for 30 seconds
- Stir in maple syrup and vanilla if using
- Refrigerate for 5 minutes, then whisk again to prevent clumps
- Cover and refrigerate for 8 hours or overnight
- Top with raspberries before serving
- Add optional toppings like chopped nuts, coconut flakes, or kiwi slices
Storage: Keeps for up to 5 days in the refrigerator in a sealed container
This recipe is for informational purposes only and is not medical or dietary advice. Please consult a healthcare professional before making any changes to your diet.
Related Articles
- Is broccoli good for IBS?
- What meat is good for IBS?
- Does Gatorade help with IBS?
- What are the worst foods for IBS?
- Zucchini and Feta Frittata