
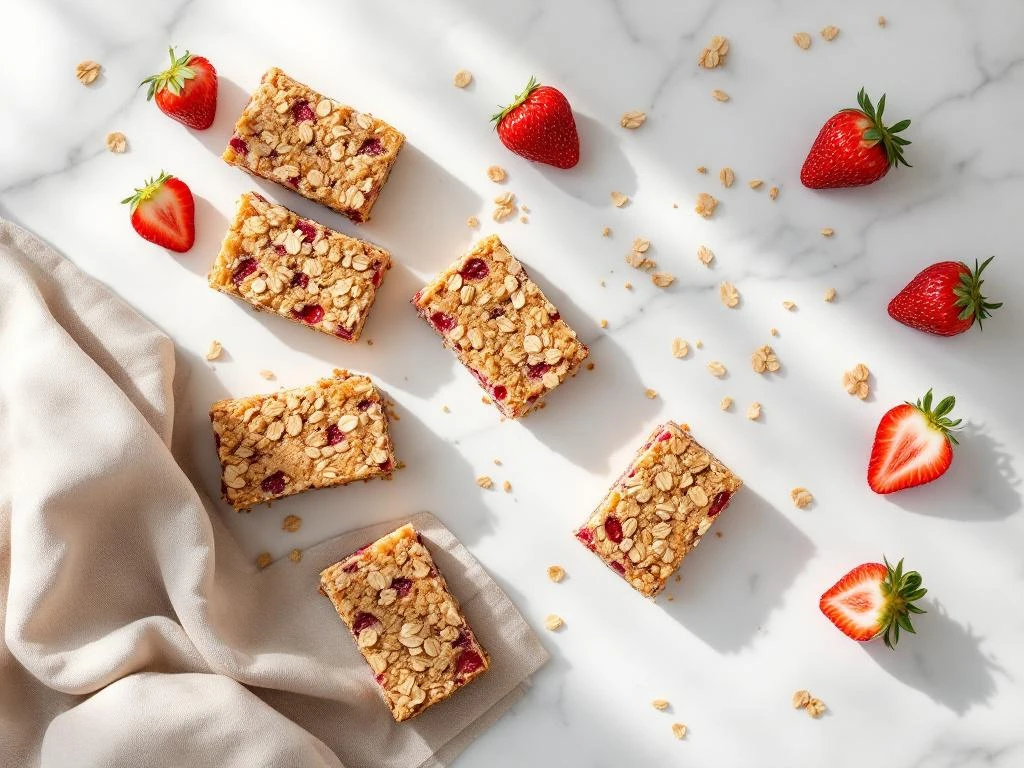
Making breakfast work when you have IBS can feel like a challenge, especially on busy mornings. These strawberry oat breakfast bars give you a portable, gut-friendly option that tastes great and keeps you satisfied until lunch. You’ll make a batch that lasts all week, with simple ingredients that won’t trigger digestive symptoms.
This recipe suits beginners and takes about 45 minutes from start to finish, including prep and baking time. You’ll need basic kitchen tools and low FODMAP ingredients that are easy to find. The bars combine oats with fresh strawberries in a way that’s gentle on your digestive system whilst providing steady energy throughout your morning.
Why strawberry oat breakfast bars work for IBS
These homemade oat bars fit perfectly into a low FODMAP breakfast routine because they use ingredients that are gentle on sensitive digestive systems. Oats contain soluble fibre that helps regulate digestion without causing the bloating or discomfort that comes from high FODMAP grains. Strawberries, when eaten in appropriate portions (about 5 medium berries per serving), stay within low FODMAP limits and add natural sweetness without triggering symptoms.
The combination of oats and strawberries provides sustained energy through complex carbohydrates that release slowly into your bloodstream. This prevents the blood sugar spikes and crashes that can make IBS symptoms worse. The bars are also portable, which solves the common problem of finding safe breakfast options when you’re rushing out the door or travelling.
These gluten free breakfast bars offer nutritional advantages beyond just being FODMAP friendly. Oats provide important minerals like iron and magnesium, whilst strawberries contribute vitamin C and antioxidants. The recipe avoids common trigger ingredients like wheat, excess sugar, and high FODMAP sweeteners, making it suitable for those managing multiple food sensitivities alongside IBS.
Gather your low FODMAP ingredients and tools
For the oat base and topping, you’ll need 2 cups of certified gluten-free rolled oats, 1/2 cup of melted coconut oil or suitable butter alternative, 1/3 cup of maple syrup, and 1/4 teaspoon of salt. Make sure your oats are specifically labelled gluten-free, as regular oats can be contaminated during processing.
The strawberry filling requires 2 cups of fresh or frozen strawberries (about 300g), 2 tablespoons of maple syrup, 1 tablespoon of chia seeds for thickening, and 1 teaspoon of lemon juice. Fresh strawberries work brilliantly, but frozen ones are just as nutritious and often more economical for meal prep breakfast bars.
Essential kitchen tools include:
- 20cm square baking pan
- Parchment paper for easy removal
- Medium saucepan for the filling
- Large mixing bowl
- Measuring cups and spoons
- Wooden spoon or spatula
Substitution options give you flexibility based on your specific needs. Replace coconut oil with lactose-free butter or a suitable plant-based spread if you prefer. Swap maple syrup for rice malt syrup if you want a lower fructose option, though keep portions moderate. For the binding agent, you can use ground flaxseed instead of chia seeds using the same measurement.
Prepare the strawberry filling layer
Start by washing your strawberries thoroughly under cold running water. Remove the green tops and hulls with a small knife, then chop the berries into small pieces roughly 1cm in size. Smaller pieces break down faster and create a smoother filling consistency.
Place the chopped strawberries in your medium saucepan over medium heat. Add the maple syrup and lemon juice, then stir to combine. The lemon juice brightens the flavour whilst helping the mixture thicken properly. Let the strawberries cook for about 8 minutes, stirring occasionally. You’ll notice them starting to break down and release their natural juices.
Once the strawberries are soft and bubbling, stir in the chia seeds. These act as a natural thickener without adding high FODMAP ingredients like excess fruit or problematic gums. Continue cooking for another 2 minutes, stirring constantly. The mixture should look jammy and thick enough to hold its shape on a spoon. Remove from heat and let it cool whilst you prepare the oat mixture. The filling will thicken further as it cools.
Mix and layer the oat base and topping
Preheat your oven to 180°C (160°C fan). Line your baking pan with parchment paper, leaving some overhang on two sides. This makes lifting the finished bars out much easier later.
In your large mixing bowl, combine the oats, melted coconut oil, maple syrup, and salt. Stir everything together until all the oats are evenly coated and the mixture looks crumbly but holds together when pressed. The texture should resemble wet sand. If it feels too dry, add an extra tablespoon of melted oil.
Take about two-thirds of the oat mixture and press it firmly into the bottom of your prepared pan. Use the back of a measuring cup or your hands to pack it down evenly. A firm base prevents the bars from falling apart when you cut them. Make sure the layer reaches all corners and has an even thickness across the entire pan.
Spread your cooled strawberry filling over the oat base, leaving a small border around the edges (about 1cm). This prevents the filling from bubbling over during baking. Use a spatula to distribute it evenly. Crumble the remaining oat mixture over the top of the strawberry layer, pressing gently but not too firmly. You want a crumbly topping texture, not a solid layer.
Bake and cool your breakfast bars properly
Place the pan in your preheated oven and bake for 30 to 35 minutes. Watch for the edges to turn golden brown and the topping to look lightly toasted. The strawberry filling might bubble slightly around the edges, which is normal. The bars are done when the top feels firm to a gentle touch and you can see golden colour developing on the oat topping.
Remove the pan from the oven and place it on a wire rack. This is where patience becomes important. Let the bars cool completely in the pan for at least 2 hours at room temperature. Cutting them too early results in messy, crumbly pieces that fall apart. The cooling process allows the filling to set properly and the bars to firm up enough for clean cuts.
You’ll know the bars are ready to slice when the pan feels cool to the touch and the filling has set to a jam-like consistency rather than liquid. For the cleanest cuts, some people even refrigerate the cooled bars for 30 minutes before slicing. Use the parchment paper overhang to lift the entire block out of the pan, then cut into 12 equal squares using a sharp knife. Wipe the knife between cuts for the neatest edges.
Store and meal prep for the week ahead
These FODMAP friendly breakfast bars stay fresh for up to 5 days when stored properly. Keep them in an airtight container at room temperature if your kitchen is cool, or refrigerate them if you live in a warm climate. The bars maintain better texture at room temperature, but refrigeration extends their freshness and keeps the strawberry filling from becoming too soft.
For room temperature storage, place parchment paper between layers if you’re stacking the bars. This prevents them from sticking together. Store the container in a cool, dry spot away from direct sunlight. Check them daily, and if you notice any moisture building up inside the container, switch to refrigeration.
Freezing works brilliantly for longer meal prep. Wrap individual bars in parchment paper, then place them all in a freezer-safe container or bag. They’ll keep for up to 3 months frozen. Thaw overnight in the refrigerator, or let a bar sit at room temperature for about 30 minutes before eating. You can also warm a frozen bar in the microwave for 20 to 30 seconds for a fresh-baked taste.
Each bar provides a satisfying portion that fits low FODMAP guidelines when you stick to one bar per serving. Having these healthy breakfast bars recipe options ready means you’re less likely to skip breakfast or reach for foods that might trigger symptoms. Pack one in your bag for busy mornings, or warm one slightly for a comforting start to your day at home.
Making a batch on Sunday gives you reliable breakfast options through Friday. You can also double the recipe and freeze half, ensuring you always have gut-friendly breakfast bars on hand. This kind of preparation takes the stress out of managing IBS whilst maintaining variety in your diet.
Strawberry oat breakfast bars
Cooking Time: 45 minutes | Portions: 12 bars
Ingredients:
- 2 cups certified gluten-free rolled oats
- 1/2 cup melted coconut oil or lactose-free butter
- 1/3 cup maple syrup (plus 2 tablespoons for filling)
- 1/4 teaspoon salt
- 2 cups fresh or frozen strawberries, chopped
- 1 tablespoon chia seeds
- 1 teaspoon lemon juice
Instructions:
- Preheat oven to 180°C (160°C fan) and line a 20cm square pan with parchment paper
- Cook chopped strawberries with 2 tablespoons maple syrup and lemon juice for 8 minutes
- Stir in chia seeds and cook for 2 more minutes, then cool
- Mix oats, melted oil, 1/3 cup maple syrup, and salt until combined
- Press two-thirds of oat mixture firmly into prepared pan
- Spread cooled strawberry filling over base, leaving 1cm border
- Crumble remaining oat mixture over strawberry layer
- Bake for 30 to 35 minutes until golden brown
- Cool completely in pan for at least 2 hours before cutting into 12 bars
- Store in airtight container for up to 5 days or freeze for up to 3 months
This recipe is for informational purposes only and is not medical or dietary advice. Please consult a healthcare professional before making any changes to your diet.
Related Articles
- Gluten-Free Raspberry Muffins
- Ham and Spinach Frittata
- Strawberry Almond Breakfast Bars
- What is a good dinner for someone with IBS?
- Gluten-Free Waffles with Maple Syrup