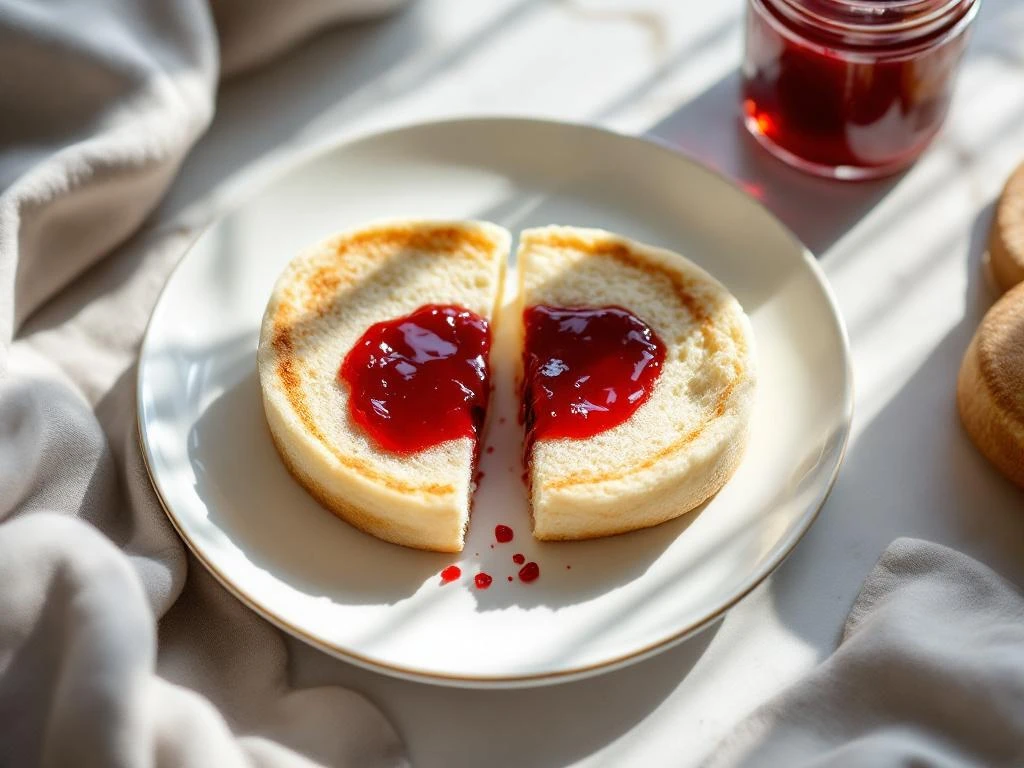
Making a gluten-free English muffin with jam gives you a safe, satisfying breakfast that won’t trigger IBS symptoms. This recipe works for beginners and takes about 90 minutes from start to finish, including rising time. You’ll need a gluten-free flour blend, yeast, English muffin rings, and a griddle or large skillet. The result is a proper low FODMAP breakfast with those classic nooks and crannies, perfect for spreading with your favourite jam.
Why gluten-free English muffins work for IBS
Gluten-free English muffins fit perfectly into a low FODMAP diet because they avoid wheat, which contains high FODMAP fructans that trigger digestive distress. When you make these at home using certified gluten-free flour blends, you control every ingredient and avoid hidden FODMAPs that sneak into shop-bought versions.
People with IBS often struggle with traditional wheat-based muffins because the gluten proteins can irritate sensitive digestive systems. Gluten-free versions eliminate this concern whilst still providing carbohydrates for energy. The texture might differ slightly from wheat muffins, but proper technique creates those signature air pockets that make English muffins special.
Nutritionally, gluten-free English muffins offer similar benefits to their wheat counterparts. They provide energy through carbohydrates, and many gluten-free flour blends include added nutrients like iron and B vitamins. The key difference is digestibility. Your gut won’t have to work as hard processing gluten-free ingredients, which means less bloating, cramping, and discomfort after breakfast.
Gather your ingredients and tools
For the gluten-free English muffin recipe, you’ll need these ingredients:
- 300g gluten-free flour blend (look for one containing xanthan gum)
- 7g instant yeast (one standard sachet)
- 1 tablespoon sugar
- 1 teaspoon salt
- 240ml lactose-free milk, warmed to body temperature
- 2 tablespoons olive oil or melted butter
- Cornmeal or polenta for dusting
Essential kitchen tools include mixing bowls (one large, one small), a wooden spoon or spatula, English muffin rings (or clean tuna tins with both ends removed), a griddle or large non-stick skillet, and a spatula for flipping. You’ll also want a clean tea towel for covering the dough whilst it rises.
For jam, choose low FODMAP options like strawberry, raspberry, or blueberry jam. Check labels to ensure they don’t contain high fructose corn syrup or excess fruit juice. A single tablespoon of jam per muffin stays within safe FODMAP limits.
If you need substitutions, rice flour blends work well, though they create a slightly denser texture. You can swap lactose-free milk for almond milk or another low FODMAP alternative. The olive oil can be replaced with any neutral-tasting oil you tolerate.
Preparing your workspace
Clear your counter space and gather everything before starting. Warm your milk gently (it should feel comfortable on your wrist, not hot). Grease your muffin rings lightly with oil. This preparation prevents rushing and helps the recipe succeed.
Prepare the gluten-free English muffin dough
Mix the dry ingredients together in your large bowl. Combine the gluten-free flour, yeast, sugar, and salt thoroughly. This even distribution prevents clumps and helps the yeast work properly throughout the dough.
In your small bowl, whisk together the warmed lactose-free milk and oil. The warmth activates the yeast, but too much heat kills it. Test the temperature on your wrist before adding it to the flour mixture.
Pour the wet ingredients into the dry mixture. Stir with your wooden spoon until everything combines into a thick, sticky dough. Gluten-free dough behaves differently from wheat dough. It won’t form a smooth ball, and that’s normal. The consistency should resemble thick porridge rather than traditional bread dough.
Beat the mixture vigorously for about 2 minutes. This develops structure in gluten-free baking and incorporates air that creates those characteristic nooks and crannies. Your arm might get tired, but this step matters for texture.
Cover the bowl with your damp tea towel and place it somewhere warm. Let the dough rise for 30 to 45 minutes until it looks puffy and slightly increased in size. Gluten-free dough won’t double like wheat dough, so don’t wait for dramatic growth.
Success check
Your dough is ready when it looks airy and has small bubbles on the surface. If it hasn’t changed at all after 45 minutes, your yeast might be inactive. Check the expiry date and try again with fresh yeast.
Shape and cook your English muffins perfectly
Dust your work surface generously with cornmeal or polenta. This prevents sticking and creates the traditional coating on English muffins. Place your greased muffin rings on a cornmeal-dusted baking tray.
Stir down the risen dough to release air bubbles. Spoon the dough into the prepared rings, filling each about two-thirds full. Use wet hands or a wet spoon to smooth the tops gently. The dough will be sticky, so keep water nearby.
Sprinkle more cornmeal on top of each muffin. Cover them loosely with your tea towel and let them rest for 15 minutes. This short prove helps them puff up during cooking.
Heat your griddle or skillet over medium-low heat. This temperature is crucial. Too hot and the outsides burn before the insides cook. Too cool and they won’t develop that golden crust. Test by sprinkling a few drops of water on the surface. They should sizzle gently, not violently.
Carefully transfer the muffins in their rings to the hot griddle. Cook for 7 to 8 minutes on the bottom side. You’ll see the edges start to look dry and the tops will lose their wet sheen. The bottoms should be golden brown when you peek underneath with a spatula.
Flip the muffins carefully, keeping them in their rings. Cook for another 7 to 8 minutes on the second side. The muffins should feel firm when gently pressed and sound hollow when tapped. If they feel squishy in the middle, give them another minute or two.
Remove the rings (they’ll be hot, so use a tea towel) and let the muffins cool on a wire rack. Resist cutting into them whilst hot. They need 10 minutes to set properly inside.
Achieving the nooks and crannies
The secret to that classic English muffin texture in gluten-free versions comes from proper mixing and not overworking the dough. The vigorous beating creates air pockets, and the gentle cooking preserves them. Never press down on the muffins whilst cooking, as this flattens those desirable holes.
Choose low FODMAP jam and serve
Select jams made with low FODMAP fruits like strawberries, raspberries, blueberries, or rhubarb. Read ingredient lists carefully. Avoid jams with apple juice, pear juice, or high fructose corn syrup as these contain excess fructose that triggers symptoms.
Stick to one tablespoon of jam per muffin half. This portion stays within safe FODMAP limits whilst giving you plenty of flavour. More than this amount might push you over the threshold, especially if you’re in the elimination phase of the diet.
Homemade jam works brilliantly if you want complete control. Simmer 200g of low FODMAP berries with 100g sugar and a squeeze of lemon juice until thick. This makes enough for several servings and keeps in the fridge for two weeks.
To serve your IBS-friendly breakfast, split the muffins with a fork rather than a knife. Forking creates more texture and surface area for your toppings. Toast the halves until golden, spread with a small amount of butter if tolerated, then add your jam.
Creative serving variations
Try spreading lactose-free cream cheese before adding jam. Top with a few fresh berries for extra nutrition. Or make a savoury version by skipping the jam and adding sliced tomato and a poached egg instead.
Store and reheat for meal prep success
Let your English muffins cool completely before storing. Any trapped steam creates moisture that leads to mould. This takes about 30 minutes on a wire rack.
Store cooled muffins in an airtight container at room temperature for up to three days. Place parchment paper between layers if you’re stacking them. They’ll stay fresh and ready for quick breakfasts throughout the week.
For longer storage, freeze the muffins. Wrap each one individually in cling film, then place all wrapped muffins in a freezer bag. This prevents freezer burn and lets you grab just what you need. Frozen muffins keep well for up to three months.
Thaw frozen muffins overnight in the fridge or at room temperature for an hour. You can also toast them directly from frozen. Just add an extra minute to your toasting time.
Reheat refrigerated or thawed muffins by toasting until warmed through and slightly crispy on the outside. This refreshes the texture and makes them taste freshly made. A toaster works perfectly, or use your oven at 180°C for 5 minutes.
Food safety notes
Watch for any signs of mould, especially in humid weather. Gluten-free baked goods sometimes spoil faster than wheat versions because they lack preservatives. When in doubt, freeze extras rather than leaving them out.
Batch cooking these muffins on Sunday gives you grab-and-go breakfasts all week. Make a double batch and freeze half. You’ll always have a safe breakfast option ready, which reduces the temptation to eat something that might trigger symptoms.
Gluten-free English muffin with jam
Cooking time: 90 minutes | Portions: 6 muffins
- Combine 300g gluten-free flour blend, 7g instant yeast, 1 tablespoon sugar, and 1 teaspoon salt in a large bowl
- Mix 240ml warmed lactose-free milk with 2 tablespoons olive oil
- Stir wet ingredients into dry ingredients until a thick, sticky dough forms
- Beat vigorously for 2 minutes to develop structure
- Cover and let rise in a warm place for 30 to 45 minutes
- Dust work surface with cornmeal and grease 6 muffin rings
- Spoon dough into rings, filling two-thirds full
- Sprinkle tops with cornmeal, cover, and rest for 15 minutes
- Cook on medium-low heat griddle for 7 to 8 minutes per side
- Cool for 10 minutes before splitting with a fork
- Toast, spread with butter if desired, and top with 1 tablespoon low FODMAP jam per half
- Store cooled muffins in an airtight container for 3 days or freeze for up to 3 months
This recipe is for informational purposes only and is not medical or dietary advice. Please consult a healthcare professional before making any changes to your diet.
Related Articles
- What chips or crackers are low in FODMAP?
- Is Greek yogurt anti-inflammatory?
- Scrambled Eggs with Roasted Peppers
- Are pickles low FODMAP?
- Pumpkin Spice Oatmeal