Making scrambled eggs with fresh parsley offers a simple, satisfying breakfast that works perfectly for anyone following a low FODMAP diet. This recipe takes about 10 minutes and requires just a few basic ingredients that won’t trigger IBS symptoms. Eggs provide high-quality protein that’s easy to digest, whilst fresh parsley adds flavour without any FODMAP concerns. You’ll need eggs, butter or a lactose-free alternative, fresh parsley, salt, pepper, a non-stick pan, a whisk or fork, and a spatula. By the end, you’ll know how to make restaurant-quality scrambled eggs that are creamy, not rubbery, and completely safe for your digestive system.
Why scrambled eggs are perfect for low FODMAP diets
Eggs rank among the best protein sources for people with IBS. They contain no FODMAPs at all, making them safe during every phase of the diet, including the strict elimination period. Each egg provides about 6 grams of complete protein with all essential amino acids your body needs.
The protein in eggs is remarkably easy to digest compared to many other protein sources. Your digestive system breaks down egg protein efficiently without causing the bloating or discomfort that beans, lentils, or certain meats might trigger. This makes scrambled eggs an ideal choice for breakfast when your stomach is most sensitive.
Fresh parsley adds a bright, fresh flavour to your scrambled eggs without any FODMAP content. Unlike onions or garlic that many recipes rely on, parsley provides taste and colour whilst keeping your meal completely IBS friendly. The herb also contains vitamins A, C, and K, adding nutritional value beyond just flavour. This simple egg recipe works brilliantly whether you’re just starting the low FODMAP diet or maintaining it long term.
Gather your ingredients and tools
You’ll need these low FODMAP ingredients for two servings:
- 4 large eggs
- 1 tablespoon butter or lactose-free butter alternative
- 2 tablespoons fresh parsley, finely chopped
- Salt to taste
- Black pepper to taste
Required kitchen tools include a non-stick pan (essential for preventing sticking and achieving the right texture), a whisk or fork for beating the eggs, and a silicone or wooden spatula for stirring. If you’re using regular butter, check that you’re within your lactose tolerance limits. Most people with lactose sensitivity can handle small amounts of butter, but lactose-free alternatives work perfectly if you prefer to avoid any risk.
Keep your eggs at room temperature if possible. Cold eggs take longer to cook evenly and can result in a less creamy texture. Take them out of the fridge about 15 minutes before you start cooking. Choose fresh parsley over dried for this recipe. Fresh herbs provide much better flavour and won’t get lost in the eggs like dried parsley often does.
Prepare eggs and parsley for cooking
Crack all four eggs into a medium bowl. Check each egg as you crack it to make sure no shell pieces fall in. Whisk the eggs thoroughly with a fork or whisk until the yolks and whites are completely combined. You should see no streaks of clear egg white remaining. This whisking creates the foundation for creamy scrambled eggs.
Rinse your fresh parsley under cold water to remove any dirt or debris. Pat it dry with a clean kitchen towel or paper towel. Remove the leaves from the stems, as the stems can be tough and bitter. Chop the parsley finely using a sharp knife. You want small pieces that will distribute evenly throughout the eggs.
Add a pinch of salt and a few grinds of black pepper to your whisked eggs. Don’t add too much salt at this stage. You can always add more after cooking, but you can’t remove it. The salt helps break down the egg proteins slightly, contributing to a more tender texture. Mix the seasonings in gently with your whisk or fork.
Cook scrambled eggs to creamy perfection
Place your non-stick pan over medium-low heat. This temperature is crucial for achieving creamy rather than rubbery eggs. High heat cooks eggs too quickly and makes them tough. Add your butter to the pan and let it melt completely. Tilt the pan to coat the bottom evenly with the melted butter. The butter should foam slightly but not brown.
Pour your whisked eggs into the pan. Wait about 20 seconds before you start stirring. This brief pause lets the eggs begin to set slightly. Use your spatula to gently push the eggs from the edges toward the centre, tilting the pan so uncooked egg flows to the empty spaces. Keep your movements slow and gentle.
Continue this pushing and tilting motion for about 3 to 4 minutes. The eggs will start to form soft curds. When the eggs are still slightly wet but mostly cooked, add your chopped fresh parsley. Fold it in gently. Remove the pan from the heat whilst the eggs still look a bit underdone. They’ll continue cooking from residual heat. This timing prevents overcooking and keeps your scrambled eggs soft and creamy.
What makes scrambled eggs creamy or rubbery?
Temperature control makes the biggest difference between creamy and rubbery scrambled eggs. High heat causes egg proteins to tighten and squeeze out moisture, creating that dry, rubbery texture nobody wants. Medium-low heat allows proteins to set gently whilst retaining moisture. Your eggs should take at least 3 minutes to cook. If they’re done in under 2 minutes, your heat is too high.
The fat content from butter or your lactose-free alternative creates richness and helps prevent the eggs from drying out. The fat coats the protein molecules and keeps them from bonding too tightly. Skipping the fat entirely will give you drier, less appealing eggs. Don’t reduce the butter amount thinking you’ll save calories. That one tablespoon is essential for proper texture.
Timing your removal from heat correctly prevents overcooking. Eggs continue cooking after you take the pan off the burner. Remove them when they still look slightly underdone and glossy. They’ll reach perfect doneness as they sit in the warm pan. If you wait until they look completely cooked in the pan, they’ll be overcooked by the time you eat them. This single tip transforms scrambled eggs from mediocre to restaurant quality.
Serve and customize your low FODMAP breakfast
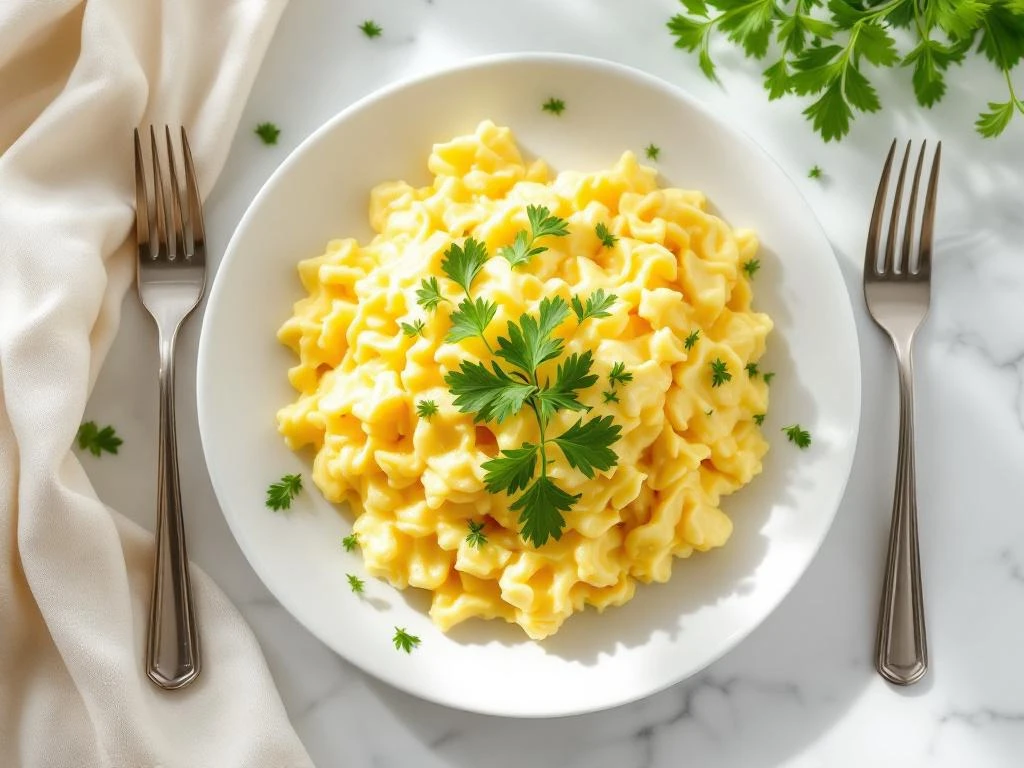
Plate your scrambled eggs immediately whilst they’re still warm and creamy. The fresh parsley should be visible throughout, adding flecks of green colour. Serve alongside gluten-free toast for a complete breakfast. Look for certified gluten-free bread made from rice, corn, or potato flour. Spread it with a bit more lactose-free butter if you like.
You can add low FODMAP vegetables to make your breakfast more substantial. Spinach, tomatoes (in moderation), and courgette all work well. Cook these vegetables separately and serve them on the side or fold them into the eggs during the last minute of cooking. A small portion of lactose-free cheese (about 40 grams) is also safe to add if you want extra richness.
One serving of this recipe (2 eggs) provides a good breakfast portion for most people. Store any leftovers in an airtight container in the fridge for up to 2 days. Reheat gently in a pan over low heat or in the microwave at reduced power. Scrambled eggs won’t be quite as creamy after reheating, but they’re still perfectly edible. For meal prep, you can whisk the eggs the night before and store them covered in the fridge. Just cook them fresh in the morning for best results.
Scrambled eggs with fresh parsley
Cooking Time: 10 minutes | Portions: 2 servings
Ingredients:
- 4 large eggs
- 1 tablespoon butter or lactose-free butter
- 2 tablespoons fresh parsley, finely chopped
- Salt and black pepper to taste
Instructions:
- Crack eggs into a bowl and whisk until completely combined
- Wash, dry, and finely chop fresh parsley
- Add a pinch of salt and pepper to the whisked eggs
- Heat a non-stick pan over medium-low heat
- Melt butter in the pan, coating the bottom evenly
- Pour in eggs and wait 20 seconds before stirring
- Gently push eggs from edges to centre for 3 to 4 minutes
- Add chopped parsley when eggs are mostly cooked but still slightly wet
- Remove from heat whilst eggs still look slightly underdone
- Serve immediately with gluten-free toast or low FODMAP vegetables
This recipe is for informational purposes only and is not medical or dietary advice. Please consult a healthcare professional before making any changes to your diet.