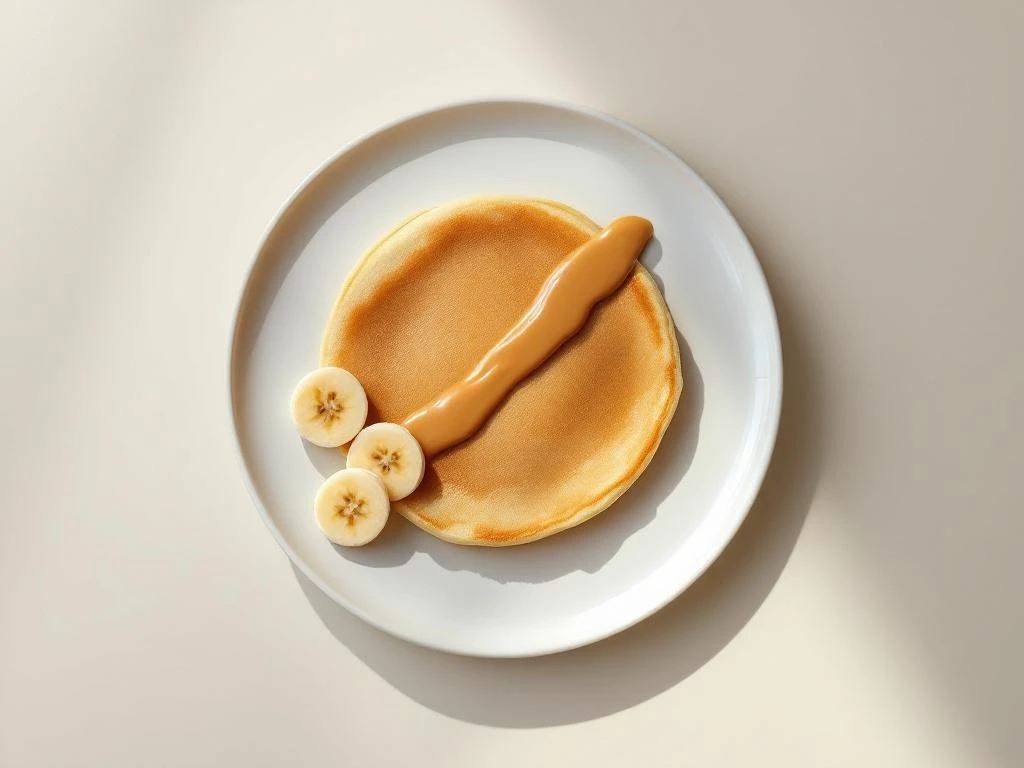
Making IBS-friendly pancakes doesn’t mean sacrificing flavour or satisfaction. These peanut butter banana pancakes follow low FODMAP guidelines whilst delivering the comforting breakfast you’re craving. You’ll need about 25 minutes from start to finish, including cooking time. The recipe requires basic kitchen equipment and readily available low FODMAP ingredients. Even if you’re new to the low FODMAP diet, these pancakes are straightforward to prepare and gentle on your digestive system.
Why peanut butter banana pancakes work for IBS
This pancake recipe respects FODMAP limits whilst providing satisfying nutrition for your morning. Bananas become low FODMAP when you use firm, unripe specimens and limit portions to one-third of a medium banana per serving. The firmer texture indicates lower fructose content, making them easier to digest.
Peanut butter brings protein and healthy fats without triggering IBS symptoms when you stick to two tablespoons per serving. Choose natural peanut butter without added high FODMAP ingredients like honey or inulin. The protein helps stabilise blood sugar and keeps you satisfied through the morning.
Gluten free flour alternatives form the base of these IBS friendly pancakes. Rice flour, oat flour (certified gluten free), or a commercial gluten free blend work well. These flours avoid wheat-based FODMAPs whilst still creating fluffy, golden pancakes that taste just as good as traditional versions.
Gather your low FODMAP pancake ingredients
You’ll need these ingredients for approximately 6 medium pancakes:
- 150g gluten free flour (rice flour, oat flour, or certified gluten free blend)
- 1 teaspoon baking powder
- 1 tablespoon sugar (white or brown)
- Pinch of salt
- 1 large egg
- 180ml lactose-free milk (or almond milk in small amounts)
- 2 tablespoons natural peanut butter
- 50g firm, unripe banana (about one-third of a medium banana, mashed)
- 1 tablespoon vegetable oil, plus extra for cooking
Optional additions include a quarter teaspoon of cinnamon or vanilla extract. Check that your baking powder doesn’t contain wheat starch. Some brands use cornstarch instead, which is low FODMAP. Store your gluten free flour in an airtight container to prevent it absorbing moisture and becoming lumpy.
Measure your banana carefully. Too much banana pushes you over FODMAP limits and may trigger symptoms. Use kitchen scales for accuracy rather than estimating portions.
Ingredient substitutions
If you can’t tolerate peanut butter, try almond butter or tahini in the same quantity. Both work within low FODMAP guidelines at two tablespoons per serving. For egg-free pancakes, use a commercial egg replacer following package directions.
Mix and prepare the pancake batter
Combine your dry ingredients in a large mixing bowl. Whisk together the gluten free flour, baking powder, sugar, and salt until evenly distributed. This prevents clumps and ensures your pancakes rise properly.
Warm your peanut butter slightly if it’s thick. This makes mixing easier. Add the peanut butter to a separate bowl with the egg, lactose-free milk, and oil. Whisk until smooth. The peanut butter should blend completely rather than leaving streaks.
Mash your measured banana with a fork until mostly smooth. Small lumps are fine and add texture to your finished pancakes. Stir the mashed banana into your wet ingredients.
Pour the wet mixture into the dry ingredients. Stir gently with a wooden spoon or spatula until just combined. Your batter should look slightly lumpy. Overmixing creates tough, dense pancakes because it develops too much structure in the gluten free flour.
Let the batter rest for 5 minutes. This allows the flour to absorb liquid and helps your pancakes cook more evenly. The batter should be thick but pourable. If it’s too thick, add lactose-free milk one tablespoon at a time. If it’s too thin, add flour one tablespoon at a time.
Cook perfect peanut butter banana pancakes
Heat a non-stick frying pan or griddle over medium heat. Add a small amount of oil and spread it across the surface with a paper towel. The pan is ready when a drop of water sizzles gently on contact.
Pour about 60ml of batter per pancake into the pan. Don’t spread the batter. Let it settle naturally into a round shape. Cook 3 to 4 pancakes at once if your pan is large enough, leaving space between each one.
Watch for bubbles forming on the surface. After about 2 to 3 minutes, the edges should look set and small bubbles will appear across the top. The bubbles should pop and leave small holes. This signals it’s time to flip.
Slide a spatula under each pancake and flip quickly. The cooked side should be golden brown. Cook the second side for 1 to 2 minutes until golden. The pancake should feel firm when you press it gently with the spatula.
Transfer cooked pancakes to a plate and keep them warm whilst you cook the remaining batter. Add a small amount of oil to the pan between batches to prevent sticking.
Temperature control matters
Medium heat works best for gluten free pancakes. Too hot and the outside burns before the inside cooks through. Too cool and the pancakes become tough and pale. Adjust your heat if the first pancake cooks too quickly or slowly.
Troubleshoot common pancake problems
Batter too thick means your pancakes will be dense and small. Add lactose-free milk one tablespoon at a time, stirring gently between additions. The batter should pour slowly but steadily from a spoon.
Batter too thin creates flat, crepe-like pancakes. Stir in extra gluten free flour one tablespoon at a time. Let the batter rest for 2 minutes after each addition so the flour can absorb the liquid.
Pancakes sticking to the pan suggests insufficient oil or incorrect temperature. Add more oil and let it heat properly before pouring the next batch. A well-heated, oiled pan prevents sticking better than a non-stick coating alone.
Uneven cooking happens when your pan has hot spots or the batter isn’t spread evenly. Rotate your pan occasionally on the burner. Pour batter from the same height each time to create uniform pancakes.
Flat or dense texture results from overmixing the batter or expired baking powder. Check your baking powder is fresh by dropping a pinch in hot water. It should fizz vigorously. Mix your batter just until combined, even if small lumps remain.
Burnt outside with raw inside means your heat is too high. Reduce the temperature and cook pancakes slightly longer on each side. The slower cooking allows heat to penetrate to the centre.
Serve and store your low FODMAP pancakes
Top your peanut butter banana pancakes with low FODMAP options like pure maple syrup, a small amount of additional peanut butter, or a few fresh strawberries (limit to 5 medium berries per serving). A dollop of lactose-free yoghurt adds protein and creaminess.
Serve pancakes warm for the best texture and flavour. Stack them on a plate and add your chosen toppings just before eating. One serving equals 2 to 3 pancakes depending on size.
Store leftover pancakes in an airtight container in the fridge for up to 3 days. Place parchment paper between pancakes to prevent them sticking together. This makes it easy to grab individual pancakes for quick breakfasts.
Freezing for meal prep
These low FODMAP pancakes freeze beautifully for up to 2 months. Let pancakes cool completely before freezing. Stack them with parchment paper between each one, then place the stack in a freezer bag. Remove as much air as possible before sealing.
Reheat refrigerated pancakes in a toaster or microwave. The toaster restores some crispness to the edges. Microwave for 30 to 45 seconds per pancake, checking halfway through. For frozen pancakes, add an extra 15 to 30 seconds in the microwave or toast directly from frozen.
Prepare a batch on Sunday for easy weekday breakfasts. You’ll have IBS friendly pancakes ready in minutes when mornings get busy. This makes sticking to your low FODMAP diet more manageable during hectic weeks.
Peanut butter banana pancakes
Cooking Time: 25 minutes | Portions: 6 medium pancakes (2-3 per serving)
Ingredients:
- 150g gluten free flour
- 1 teaspoon baking powder
- 1 tablespoon sugar
- Pinch of salt
- 1 large egg
- 180ml lactose-free milk
- 2 tablespoons natural peanut butter
- 50g firm, unripe banana (mashed)
- 1 tablespoon vegetable oil, plus extra for cooking
Instructions:
- Whisk dry ingredients (flour, baking powder, sugar, salt) in a large bowl
- Combine wet ingredients (egg, milk, peanut butter, oil, mashed banana) in a separate bowl until smooth
- Pour wet mixture into dry ingredients and stir gently until just combined (batter should be lumpy)
- Let batter rest for 5 minutes
- Heat oiled non-stick pan over medium heat
- Pour 60ml batter per pancake and cook 2-3 minutes until bubbles form
- Flip when edges are set and bubbles pop, cook 1-2 minutes more until golden
- Serve warm with low FODMAP toppings or store in fridge for up to 3 days
This recipe is for informational purposes only and is not medical or dietary advice. Please consult a healthcare professional before making any changes to your diet.