Making your own lactose-free granola gives you complete control over what goes into your breakfast bowl. Store-bought options often contain hidden lactose or high FODMAP ingredients that trigger IBS symptoms. This homemade version lets you enjoy crunchy, flavourful granola whilst keeping your digestive system happy.
This recipe works for beginners and takes about 45 minutes from start to finish, including 30 minutes of baking time. You’ll need basic kitchen equipment like mixing bowls, a baking sheet, and measuring tools. The result is a dairy-free granola that’s both gut-friendly and delicious.
Why homemade lactose-free granola matters
Commercial granola often contains milk powder, butter, or yogurt coating that can upset sensitive stomachs. When you make granola at home, you know exactly what’s going into each batch. This matters tremendously for anyone managing lactose intolerance or following a low FODMAP diet.
Creating your own homemade granola recipe lets you swap problematic ingredients for safe alternatives. You can use lactose-free butter or coconut oil instead of regular butter. You control the sweetener type and amount, avoiding excess fructose that triggers IBS symptoms. Plus, you choose which nuts and seeds work for your specific tolerances.
The cost savings add up quickly too. A batch of homemade lactose-free granola costs roughly half what you’d pay for specialty store-bought versions. You’re not paying for packaging or brand markup, just quality ingredients. Making a larger batch means you’ll have breakfast sorted for weeks.
Taste and texture improve when you control the process. You can achieve the perfect level of crunch, adjust sweetness to your preference, and add the exact mix of fruits and nuts you enjoy. Store-bought gluten-free granola often tastes bland or overly sweet, but your homemade version will be exactly right for you.
Gather your ingredients and equipment
For the dry ingredients, you’ll need 3 cups of gluten-free rolled oats as your base. Add 1 cup of mixed nuts such as almonds, pecans, or macadamias (avoid cashews and pistachios on low FODMAP). Include half a cup of pumpkin seeds or sunflower seeds for extra crunch and nutrition.
The wet mixture requires a quarter cup of maple syrup or glucose syrup (both low FODMAP friendly), 3 tablespoons of melted coconut oil or lactose-free butter, and 1 teaspoon of vanilla extract. Add a pinch of salt to enhance all the flavours. Once baked and cooled, you can mix in half a cup of dried fruit like raisins or cranberries, keeping portions small to stay within low FODMAP limits.
Your equipment list is straightforward. You need a large mixing bowl for combining ingredients, a separate small bowl for the wet mixture, and measuring cups and spoons for accuracy. A large baking sheet lined with parchment paper prevents sticking and makes cleanup easier. Keep a wooden spoon or spatula handy for stirring.
Substitutions work well if you need to adapt for allergies or preferences. Swap coconut oil for lactose-free butter or olive oil. Use honey instead of maple syrup if you tolerate it well (check your FODMAP tolerance). Replace nuts with extra seeds if you have nut allergies, though this changes the texture slightly. For a different flavour profile, try adding cinnamon or ginger to the dry ingredients.
Mix and prepare your granola base
Start by preheating your oven to 160°C (320°F). This lower temperature prevents burning whilst allowing the granola to crisp up properly. Line your baking sheet with parchment paper whilst the oven heats.
Combine your oats, chopped nuts, and seeds in the large mixing bowl. Stir them together until evenly distributed. Breaking larger nuts into smaller pieces helps everything mix better and makes the final granola easier to eat. Aim for pieces roughly the size of your oats.
In the small bowl, mix your melted coconut oil or lactose-free butter with the maple syrup, vanilla extract, and salt. Whisk these together until fully combined. The mixture should look smooth and slightly runny. If your coconut oil has solidified, warm it gently until it melts again.
Pour the wet mixture over the dry ingredients. Use your wooden spoon to stir everything together thoroughly. Keep mixing until every oat flake and nut piece has a light coating of the wet mixture. This coating is what creates those satisfying crunchy clusters. The mixture should look glossy but not swimming in liquid. If it seems too dry, add another tablespoon of oil. If it’s too wet, sprinkle in a few more oats.
Bake to golden perfection
Spread your granola mixture evenly across the prepared baking sheet. Press it down gently with the back of your spoon to create a fairly compact layer. This pressing helps form clusters rather than loose granola pieces.
Place the baking sheet in your preheated oven. Set a timer for 15 minutes for your initial baking period. When the timer goes off, remove the sheet and stir the granola gently, bringing the edges toward the centre. The edges brown faster than the middle, so this stirring ensures even colouring.
Return the sheet to the oven for another 10 to 15 minutes. Watch it closely during this final stage. You’re looking for a light golden brown colour across most of the mixture. The granola will still feel slightly soft when hot but crisps up as it cools. Don’t wait for it to turn dark brown or it will taste burnt.
Remove the baking sheet from the oven when you see that golden colour. Let it cool completely on the sheet without stirring. This cooling period is crucial for cluster formation. The granola continues to crisp as it sits. Resist the urge to taste it immediately, even though it smells amazing. Hot granola is soft and chewy, but after 30 minutes of cooling, it transforms into that perfect crunchy texture you want.
Store and enjoy your homemade granola
Once completely cool, break the granola into chunks of your preferred size. Transfer it to an airtight container like a glass jar or plastic container with a tight-fitting lid. Proper storage keeps your dairy-free granola fresh and crunchy for up to three weeks at room temperature.
Keep the container in a cool, dry spot away from direct sunlight. Moisture is granola’s enemy, so make sure the lid seals tightly. If you notice any softening after a week or so, you can refresh the crunch by spreading it on a baking sheet and warming it in a low oven for 5 minutes.
For serving, measure out a quarter to half cup portion. This amount stays within low FODMAP guidelines whilst giving you a satisfying breakfast or snack. Pour lactose-free milk or a low FODMAP plant milk like almond milk over it for a classic breakfast. You can also sprinkle it over lactose-free yoghurt or eat it straight as a crunchy snack.
This fruit and nut granola works brilliantly as a topping for smoothie bowls or baked fruit. Try it over sliced strawberries with a dollop of lactose-free cream for a simple dessert. Pack small portions in containers for easy grab-and-go breakfasts during busy mornings. The versatility makes it worth keeping a batch ready at all times.
Your homemade lactose-free granola proves that managing IBS doesn’t mean sacrificing flavour or variety. You’ve created a breakfast option that’s safe for your digestive system and genuinely enjoyable to eat. The process becomes quicker each time you make it, and you can experiment with different nut and seed combinations to keep things interesting.
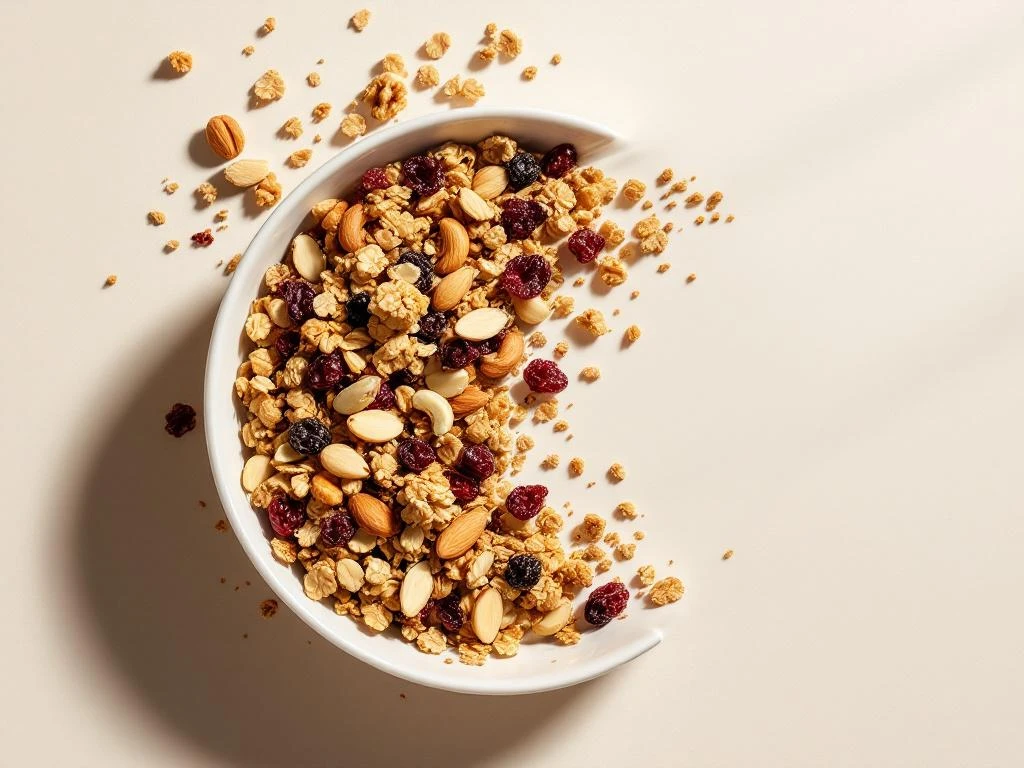
Lactose-free fruit and nut granola
Cooking Time: 45 minutes | Portions: 10 servings
Ingredients:
- 3 cups gluten-free rolled oats
- 1 cup mixed low FODMAP nuts (almonds, pecans, macadamias), chopped
- ½ cup pumpkin seeds or sunflower seeds
- ¼ cup maple syrup or glucose syrup
- 3 tablespoons melted coconut oil or lactose-free butter
- 1 teaspoon vanilla extract
- Pinch of salt
- ½ cup dried fruit (raisins or cranberries), added after baking
Instructions:
- Preheat oven to 160°C (320°F) and line a baking sheet with parchment paper
- Mix oats, chopped nuts, and seeds in a large bowl
- Whisk together melted oil, maple syrup, vanilla, and salt in a small bowl
- Pour wet mixture over dry ingredients and stir until everything is evenly coated
- Spread mixture on prepared baking sheet and press down gently
- Bake for 15 minutes, then stir and return to oven
- Bake for another 10 to 15 minutes until light golden brown
- Cool completely on the baking sheet without stirring
- Break into clusters and mix in dried fruit
- Store in an airtight container for up to 3 weeks
This recipe is for informational purposes only and is not medical or dietary advice. Please consult a healthcare professional before making any changes to your diet.