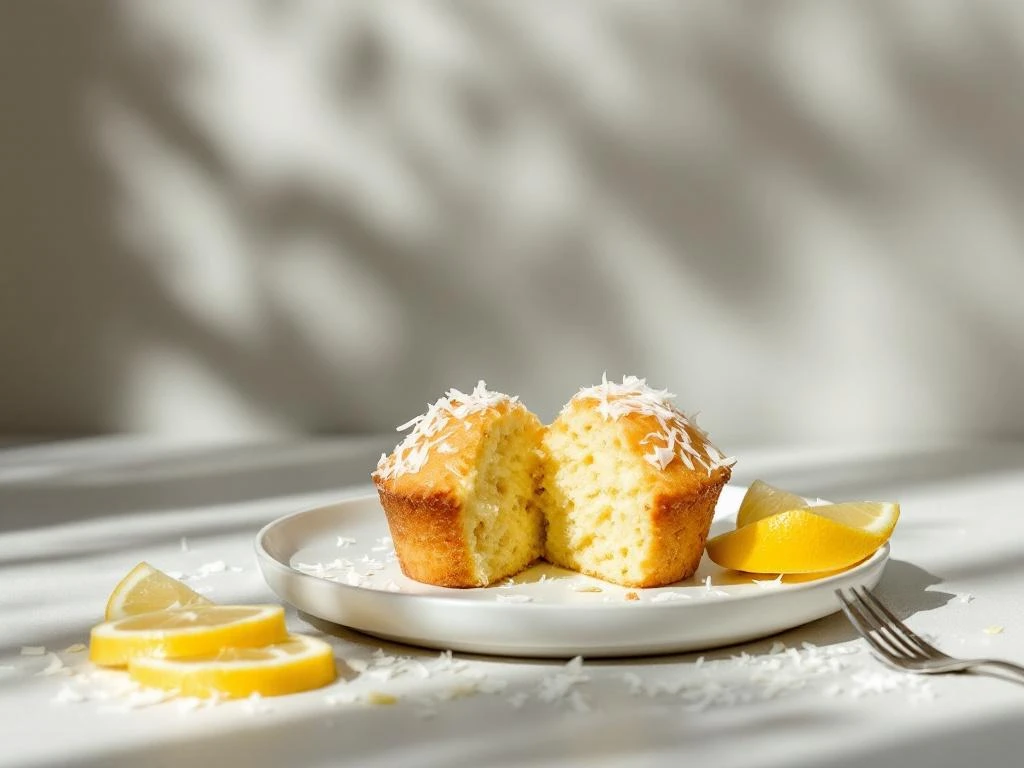
These gluten-free lemon coconut muffins are perfect when you need a safe, delicious breakfast or snack that won’t trigger IBS symptoms. The combination of bright lemon and tropical coconut creates a flavour that feels indulgent whilst staying completely low FODMAP and gentle on your digestive system.
This recipe suits beginners who are new to gluten-free baking. You’ll spend about 15 minutes mixing the batter and 20 minutes baking. The ingredients are simple to find at most supermarkets, and the method is straightforward with clear visual cues to guide you.
You’ll need a standard muffin tin, two mixing bowls, measuring cups and spoons, and basic kitchen tools like a whisk and spatula. The recipe uses certified gluten-free flour, coconut products, fresh lemon, and lactose-free alternatives to create muffins that are light, moist, and full of flavour. By the end, you’ll have a batch of IBS-friendly muffins ready for your week ahead.
Why gluten-free lemon coconut muffins work for IBS
These muffins fit perfectly into a low FODMAP diet because they avoid the common trigger ingredients that cause digestive distress. Traditional wheat flour contains fructans, which are high FODMAP carbohydrates that many people with IBS cannot tolerate. By using certified gluten-free flour blends, you eliminate this trigger whilst still achieving a tender, cake-like texture.
Coconut and lemon are both considered safe choices for those following a low FODMAP diet. Coconut milk and desiccated coconut (in controlled portions) add richness and moisture without the lactose found in dairy products. Lemon juice and zest provide bright, fresh flavour without introducing FODMAPs. The acidity of lemon also helps activate the raising agents in gluten-free baking, creating better lift and texture.
Using lactose-free butter or dairy-free alternatives means you can enjoy these muffins without worrying about digestive upset. The combination of gluten-free and lactose-free ingredients makes these muffins suitable for multiple food sensitivities. You get to enjoy FODMAP-friendly baking that doesn’t compromise on taste or texture.
Gather your ingredients and tools
For the dry ingredients, you’ll need 250g gluten-free plain flour (check it’s certified gluten-free), 2 teaspoons baking powder, ½ teaspoon bicarbonate of soda, and a pinch of salt. Add 100g caster sugar and 40g desiccated coconut. Make sure your gluten-free flour blend contains xanthan gum or add ½ teaspoon separately to help bind the batter.
The wet ingredients include 2 large eggs at room temperature, 120ml lactose-free milk or a suitable plant-based alternative like almond milk, 80ml melted lactose-free butter or coconut oil, and 60ml fresh lemon juice (about 2 lemons). You’ll also need the zest of 2 lemons for maximum flavour. If you prefer dairy-free options, coconut oil works beautifully and enhances the coconut flavour.
Essential tools include a 12-cup muffin tin, paper muffin cases, two medium mixing bowls, measuring cups and spoons, a fine grater or zester for the lemon, a whisk, and a rubber spatula. A small sieve is helpful for sifting the dry ingredients. Have a toothpick or skewer ready for testing doneness later.
For ingredient substitutions, you can replace the caster sugar with maple syrup (use 80ml and reduce the milk slightly). Coconut sugar works too but creates a darker colour. If you’re avoiding coconut, replace the desiccated coconut with 40g extra flour and use butter instead of coconut oil. The lemon cannot be substituted if you want the signature flavour, but lime works as an alternative citrus option.
Preparing your workspace
Preheat your oven to 180°C (160°C fan) or gas mark 4. Position the rack in the centre of the oven for even heat distribution. Line your muffin tin with paper cases. This prevents sticking and makes cleanup easier. Set out all your ingredients so everything is within reach once you start mixing.
Mix the batter in three simple steps
Start by combining all your dry ingredients in a large mixing bowl. Add the gluten-free flour, baking powder, bicarbonate of soda, salt, sugar, and desiccated coconut. Whisk these together thoroughly to distribute the raising agents evenly. This step is important in gluten-free baking because you don’t have gluten strands to help distribute ingredients during mixing.
In your second bowl, prepare the wet ingredients. Crack the eggs and whisk them lightly. Add the lactose-free milk, melted butter or coconut oil, lemon juice, and lemon zest. Whisk until everything is well combined and slightly frothy. The mixture might look a bit curdled if you’re using coconut oil, but this is normal and won’t affect the final result.
Pour the wet ingredients into the dry ingredients all at once. Use your rubber spatula to fold them together gently. Stir just until you can no longer see dry flour patches. The batter should look slightly lumpy and thick. Stop mixing as soon as everything is combined. Overmixing gluten-free batter can make your muffins dense and gummy instead of light and fluffy.
The correct consistency looks like thick porridge that drops slowly from your spatula. If your batter seems too thick, add a tablespoon of milk at a time until it loosens slightly. If it’s too thin, it won’t hold its shape in the tin. You want a batter that holds soft peaks when you lift the spatula.
Bake to golden perfection
Divide the batter evenly among the 12 muffin cases. Fill each case about two-thirds full. This gives the muffins room to rise without overflowing. A spring-loaded ice cream scoop makes this job easier and creates uniform muffins. Tap the tin gently on your counter to release any air bubbles trapped in the batter.
Place the tin in your preheated oven on the centre rack. Bake for 18 to 22 minutes without opening the oven door. Opening the door too early can cause the muffins to collapse. The exact time depends on your oven, so start checking at 18 minutes.
Look for visual cues that tell you the muffins are ready. The tops should be golden brown and slightly domed. The edges will start to pull away from the paper cases just a little. You might see small cracks on the surface, which is perfectly normal for these easy gluten-free muffins. The kitchen will smell amazing with lemon and coconut aromas.
How do you know when muffins are done?
The toothpick test is your most reliable method. Insert a wooden toothpick or skewer into the centre of a middle muffin. It should come out clean or with just a few moist crumbs attached. If you see wet batter on the toothpick, bake for another 2 to 3 minutes and test again. The middle muffins take longest to bake, so testing one of these gives you the best indication.
Try the spring-back test as a secondary check. Gently press the top of a muffin with your fingertip. It should spring back immediately and feel firm. If your finger leaves an indent that stays, the muffins need more time. This test works well once you’ve made the recipe a few times and know how they should feel.
Visual indicators include a golden-brown colour on top and slightly darker edges where the muffin meets the paper case. The tops should look set rather than shiny or wet. Underbaked muffins will sink in the middle as they cool and have a gummy texture. Overbaked muffins become dry and crumbly. Getting them just right means removing them when they’re still moist but fully cooked through.
Once baked, remove the tin from the oven and let the muffins cool in the tin for 5 minutes. This brief rest helps them set and makes them easier to remove without breaking. After 5 minutes, transfer the muffins to a wire cooling rack. Let them cool completely before storing. Cooling on a rack prevents the bottoms from becoming soggy from trapped steam.
Store and enjoy your low FODMAP muffins
Wait until your muffins are completely cool before storing them. Warm muffins create condensation in containers, which leads to mould and soggy texture. Complete cooling takes about 30 minutes on a wire rack. Touch the bottom of a muffin to check. It should feel room temperature, not warm.
For short-term storage, place the cooled muffins in an airtight container at room temperature. They’ll stay fresh for 2 to 3 days this way. Separate layers with baking paper if you need to stack them. Keep the container away from direct sunlight and heat sources. Room temperature storage works best for maintaining the texture of these coconut lemon muffins.
Refrigeration extends the life to about 5 days but can dry out the muffins slightly. If you refrigerate them, let them come to room temperature before eating or warm them briefly in the microwave (10 to 15 seconds). The cold can dull the lemon flavour, so warming helps revive it.
Freezing is your best option for longer storage. Wrap each muffin individually in cling film, then place them all in a freezer bag. Remove as much air as possible before sealing. Frozen muffins keep well for up to 3 months. To defrost, leave them at room temperature for an hour or microwave on low power for 30 to 45 seconds. You can also refresh them in a 160°C oven for 5 minutes after defrosting.
These muffins work brilliantly for meal prep. Bake a batch on Sunday and you have breakfast or snacks sorted for the week. They’re portable, so pack them for work lunches or travel. Serve them plain, or split and spread with lactose-free butter. They pair well with a cup of tea or coffee for a satisfying, IBS-friendly treat that doesn’t compromise on flavour.
Gluten-free lemon coconut muffins
Cooking time: 20 minutes | Portions: 12 muffins
Dry ingredients:
- 250g gluten-free plain flour (certified, with xanthan gum)
- 2 teaspoons baking powder
- ½ teaspoon bicarbonate of soda
- Pinch of salt
- 100g caster sugar
- 40g desiccated coconut
Wet ingredients:
- 2 large eggs (room temperature)
- 120ml lactose-free milk or almond milk
- 80ml melted lactose-free butter or coconut oil
- 60ml fresh lemon juice (about 2 lemons)
- Zest of 2 lemons
Method:
- Preheat oven to 180°C (160°C fan). Line a 12-cup muffin tin with paper cases.
- Whisk together all dry ingredients in a large bowl until well combined.
- In a separate bowl, whisk eggs, milk, melted butter, lemon juice and zest until smooth.
- Pour wet ingredients into dry ingredients. Fold gently with a spatula until just combined (batter should be slightly lumpy).
- Divide batter evenly among muffin cases, filling each about two-thirds full.
- Bake for 18 to 22 minutes until golden brown and a toothpick inserted in the centre comes out clean.
- Cool in tin for 5 minutes, then transfer to a wire rack to cool completely.
- Store in an airtight container at room temperature for 2 to 3 days, refrigerate for up to 5 days, or freeze individually wrapped for up to 3 months.
This recipe is for informational purposes only and is not medical or dietary advice. Please consult a healthcare professional before making any changes to your diet.