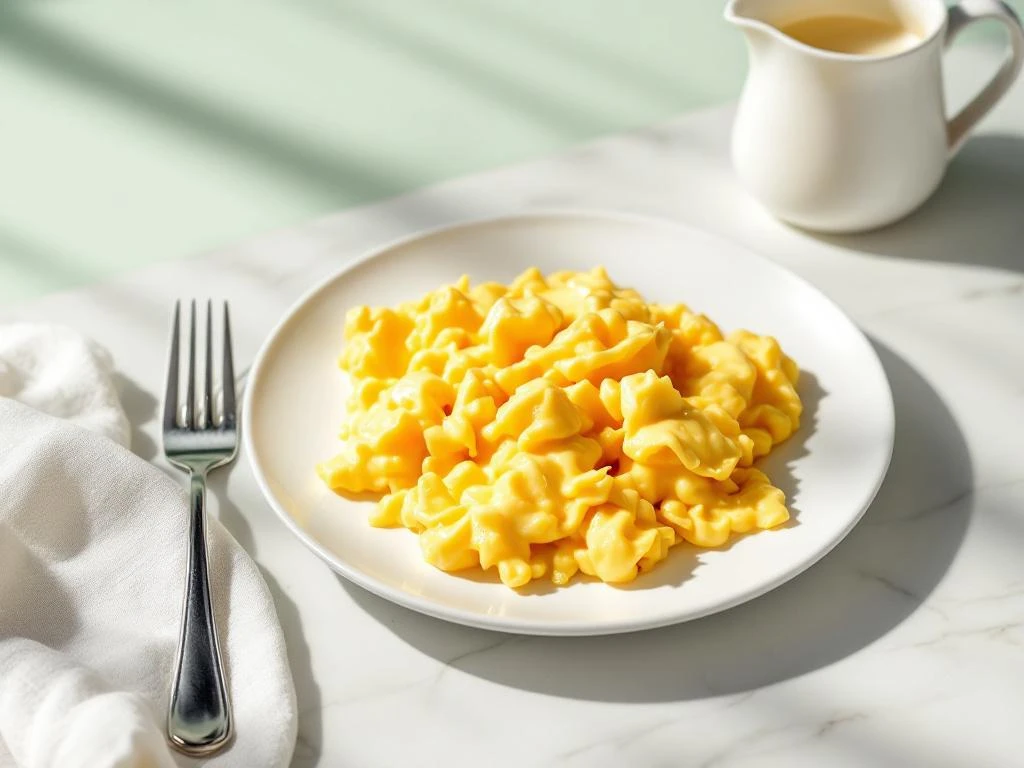
Creamy scrambled eggs can transform your breakfast, but regular cream might trigger digestive discomfort if you have IBS or lactose intolerance. Using lactose-free cream gives you the same rich, velvety texture without the bloating or stomach upset. This low FODMAP scrambled eggs recipe takes about 10 minutes and works for beginners. You’ll need eggs, lactose-free cream, a non-stick pan, and a whisk. The result is a digestive-friendly breakfast that tastes just as indulgent as the traditional version.
Why lactose-free cream makes scrambled eggs better
Lactose-free cream creates the same silky texture as regular cream because the lactose has been broken down into simpler sugars. The fat content stays identical, which means you get the same richness and mouthfeel. For anyone following a low FODMAP diet or managing IBS symptoms, this swap eliminates a common trigger without compromising taste.
Regular cream contains lactose, a sugar that many people struggle to digest properly. This can lead to bloating, gas, and stomach cramps within hours of eating. Lactose-free cream removes this problem while maintaining the cooking properties you need for creamy scrambled eggs. The proteins and fats behave exactly the same way when heated, so your eggs will cook evenly and stay soft.
In blind taste tests, most people cannot tell the difference between scrambled eggs made with regular cream versus lactose-free versions. The slight sweetness from the pre-broken-down sugars actually enhances the flavour. Your IBS friendly scrambled eggs will taste just as good as any restaurant version, but your digestive system will thank you later.
What you need for creamy scrambled eggs
Gather these ingredients before you start cooking:
- 3 large eggs (fresh eggs work best for fluffy texture)
- 2 tablespoons lactose-free cream (single or double cream both work)
- 1 tablespoon butter or lactose-free butter alternative
- Pinch of salt (add after cooking for best results)
You’ll need these tools for the best outcome:
- Non-stick pan (20cm diameter prevents sticking and allows gentle heat distribution)
- Whisk or fork (whisk incorporates more air for fluffier eggs)
- Silicone or wooden spatula (won’t scratch your non-stick surface)
- Medium mixing bowl (gives you room to whisk properly)
- Plate for serving (warm it slightly if you want eggs to stay hot longer)
Having everything ready before you turn on the heat makes the cooking process smoother. Scrambled eggs cook quickly, so you won’t have time to hunt for tools once you start.
Prepare your eggs and lactose-free cream mixture
Crack the eggs into your mixing bowl. Check each egg as you crack it to catch any shell pieces. Remove any shells immediately, as they’re harder to fish out once you start whisking.
Add the lactose-free cream to the eggs. The ideal ratio is about 1 tablespoon of cream per egg, though you can adjust based on how rich you want the final dish. More cream makes the eggs softer and more luxurious, but too much can make them watery.
Whisk the mixture vigorously for about 30 seconds. You want to see the yolks and whites fully combined with no streaks of clear egg white visible. The mixture should look pale yellow and slightly frothy. This whisking incorporates air, which helps create a lighter texture when cooked.
Hold off on adding salt at this stage. Salt can break down the egg proteins if added too early, leading to a slightly watery texture. You’ll season the eggs right before serving instead. Your scrambled eggs with lactose-free cream mixture is now ready for the pan.
Cook scrambled eggs to creamy perfection
Place your non-stick pan over medium-low heat. This is crucial because high heat cooks eggs too quickly, making them rubbery and dry. Let the pan warm for about 1 minute before adding butter.
Add the butter and let it melt completely. Swirl it around to coat the entire bottom of the pan. The butter should foam slightly but not brown. If it starts turning golden, your heat is too high.
Pour in your egg mixture. Let it sit undisturbed for about 10 seconds until you see the edges just beginning to set. This creates a foundation for the curds to form.
Using your spatula, gently push the eggs from the edge toward the centre. Tilt the pan so the uncooked egg flows to the empty space. Wait another 10 seconds, then repeat this pushing motion. You’re creating soft curds rather than stirring constantly.
Continue this gentle pushing and tilting for about 3 to 4 minutes total. The eggs should look wet but not liquid. You’ll see large, soft curds forming. When about 20% of the mixture still looks slightly runny, remove the pan from heat. The residual heat will finish cooking the eggs to perfection.
This technique gives you creamy scrambled eggs that stay soft and glossy. Rushing this process or using high heat is the most common mistake that leads to disappointing results.
How do you know when scrambled eggs are done?
Look for these visual cues to know your eggs are ready. The mixture should have transformed from liquid to soft, pillowy curds. You’ll see distinct folds rather than a flat, wet surface. The eggs should still have a slight sheen, indicating moisture content.
Touch is another indicator. Gently press the eggs with your spatula. They should feel soft and give slightly, not firm or springy. If they bounce back quickly, they’re overcooked.
The most important concept is carryover cooking. Eggs continue cooking after you remove them from heat because they retain warmth. Take them off the heat when they still look slightly underdone. They’ll reach the perfect consistency in the 30 seconds it takes to transfer them to a plate.
Properly cooked scrambled eggs should be creamy enough to slowly spread on the plate rather than sit in a firm mound. They should taste rich and custardy, not dry or rubbery. If you can see clear liquid pooling around the eggs, you’ve removed them too early, though this rarely happens with the gentle cooking method described above.
Season with a pinch of salt right before serving. This is when you add any other desired toppings or herbs for your gluten-free scrambled eggs breakfast.
Fix common scrambled egg mistakes
Overcooked eggs feel rubbery and look dry with small, tight curds. This happens when heat is too high or cooking continues too long. Prevention is easier than fixing, so remove eggs from heat when they still look slightly wet. If you’ve already overcooked them, there’s no way to reverse the texture, but you can learn for next time.
Watery texture with liquid pooling around the eggs means you removed them too early or used too much cream. The ratio matters. Stick to 1 tablespoon of lactose-free cream per egg. If your eggs are watery, return the pan to low heat and gently fold the mixture for another 30 seconds to evaporate excess moisture.
Rubbery consistency comes from cooking at too high a temperature. Eggs need gentle heat to stay tender. If your eggs turn rubbery regularly, reduce your heat setting and be more patient. The extra 2 minutes of slow cooking makes all the difference between tough and creamy results.
Eggs sticking to the pan indicate either insufficient butter or a pan that’s not truly non-stick anymore. Make sure your butter coats the entire cooking surface before adding eggs. If sticking persists, your pan might need replacing. Even non-stick surfaces wear out over time.
Uneven cooking with some parts firm and others runny happens when you don’t move the eggs enough during cooking. Use the push-and-tilt technique described earlier. Keep the eggs moving gently so all parts spend time on the hot surface. Don’t let them sit in one position for more than 10 seconds at a time.
These digestive-friendly breakfast eggs should come out perfectly once you understand heat control and timing. Practice makes the process feel natural, and you’ll soon make them without thinking about each step.
Scrambled eggs with lactose-free cream
Cooking Time: 10 minutes | Portions: 1 serving
- Crack 3 eggs into a bowl
- Add 2 tablespoons lactose-free cream
- Whisk vigorously for 30 seconds until fully combined and frothy
- Heat non-stick pan over medium-low heat for 1 minute
- Melt 1 tablespoon butter and swirl to coat pan
- Pour in egg mixture and let sit for 10 seconds
- Gently push eggs from edge to centre, tilting pan to let uncooked egg flow
- Repeat pushing motion every 10 seconds for 3 to 4 minutes
- Remove from heat when eggs are 80% cooked with slight runniness remaining
- Season with salt and serve immediately
This recipe is for informational purposes only and is not medical or dietary advice. Please consult a healthcare professional before making any changes to your diet.