Making breakfast work with IBS can feel tricky, especially when you’re rushing in the morning. These blueberry quinoa breakfast bars solve that problem. You’ll have a grab-and-go option that’s gentle on your digestive system and actually tastes good. This recipe is suitable for beginners with basic baking skills. You’ll spend about 15 minutes on prep and 25 minutes baking, plus cooling time. You’ll need a baking tin, mixing bowls, measuring cups, and basic pantry ingredients that fit a low FODMAP diet.
Why blueberry quinoa breakfast bars work for IBS
These bars fit perfectly into a low FODMAP diet because every ingredient has been chosen with digestive health in mind. Quinoa provides complete protein without triggering IBS symptoms, making it an excellent gluten-free grain option for morning energy. Unlike wheat-based breakfast options, quinoa is naturally low FODMAP and won’t cause bloating or discomfort.
Blueberries are one of the safest fruit choices for IBS sufferers. A low FODMAP serving is about 20 berries, which gives you that sweet fruit flavour without the fructose overload found in apples or pears. The antioxidants in blueberries also support gut health while adding natural sweetness to your homemade breakfast bars.
Having make-ahead breakfast options changes everything when you’re managing digestive issues. Morning stress can trigger IBS symptoms, so having these healthy breakfast bars ready in your fridge means one less decision to make. You can eat them at home or wrap one up for your commute, giving you control over your diet even on busy mornings.
Gather your ingredients and tools
For these IBS friendly breakfast bars, you’ll need 150g cooked quinoa (about 60g dry quinoa before cooking), 100g gluten-free oats, 100g fresh or frozen blueberries, 80ml pure maple syrup, 2 tablespoons ground flaxseed mixed with 5 tablespoons water (this creates your binding agent), 60ml melted coconut oil, 1 teaspoon vanilla extract, and a pinch of salt.
Your kitchen tools list is straightforward. Get a 20cm square baking tin, parchment paper for lining, two mixing bowls (one large, one small), measuring cups and spoons, a wooden spoon or spatula for mixing, and a sharp knife for cutting the finished bars. A potato masher or fork helps if you want to partially mash some quinoa for better binding.
Check that your gluten-free oats are certified if you have coeliac disease. Some oats get contaminated during processing. Your maple syrup should be pure, not pancake syrup with added ingredients that might contain high FODMAP additives.
Prepare the quinoa base mixture
If you’re starting with uncooked quinoa, rinse 60g quinoa under cold water to remove any bitter coating. Combine it with 180ml water in a small pot, bring to a boil, then reduce heat to low and cover. Cook for 15 minutes until the water is absorbed and you see little spiral tails on the grains. Let it cool completely before using, which takes about 20 minutes.
While your quinoa cools, prepare your flax egg by mixing the ground flaxseed with water in a small bowl. Let this sit for 5 minutes until it becomes gel-like. This mixture replaces regular eggs and helps bind your quinoa breakfast recipe together without dairy or eggs that some IBS sufferers find problematic.
In your large mixing bowl, combine the cooled quinoa, gluten-free oats, melted coconut oil, maple syrup, flax egg mixture, vanilla extract, and salt. Stir everything together until well combined. The mixture should look sticky and hold together when you press it. If it seems too dry, add a tablespoon of water. If it’s too wet, add more oats one tablespoon at a time.
Mix in blueberries and form the bars
Add your blueberries to the quinoa mixture gently. Use a folding motion with your spatula rather than stirring vigorously. This keeps the berries intact instead of crushing them and turning everything purple. If you’re using frozen blueberries, don’t thaw them first as they’ll release less juice and keep your low FODMAP breakfast bars from getting soggy.
Line your baking tin with parchment paper, leaving some overhang on two sides. This makes lifting the finished bars out much easier. Lightly grease the parchment with a bit of coconut oil to prevent any sticking.
Pour your mixture into the prepared tin. Use the back of a spoon or your hands (slightly wet hands work best) to press the mixture down firmly and evenly. Press harder than you think you need to. This compression is what makes your bars hold together instead of crumbling apart when you cut them. Pay special attention to the corners and edges where the mixture tends to be thinner.
Bake and cool for perfect texture
Preheat your oven to 180°C (160°C fan). Place your tin on the middle rack and bake for 25 minutes. You’re looking for golden brown edges and a center that feels set when you gently press it. The top should look dry rather than wet or shiny.
Here’s the hardest part: let the bars cool completely in the tin. This takes at least an hour at room temperature, or 30 minutes if you transfer the whole thing to your fridge. Cutting warm bars is the main reason homemade breakfast bars fall apart. The mixture needs time to firm up and set properly.
Once cooled, use the parchment overhang to lift the entire slab out of the tin onto a cutting board. Use a sharp knife and wipe it clean between cuts. Cut into 12 equal bars by making three cuts lengthwise and two cuts across. Press straight down rather than sawing for the cleanest edges.
Store and enjoy your breakfast bars
Store your gluten free breakfast bars in an airtight container in the fridge for up to 5 days. Place parchment paper between layers if you’re stacking them to prevent sticking. They taste great cold straight from the fridge, which actually makes them more firm and easier to handle.
For longer storage, wrap individual bars in cling film and freeze them for up to 3 months. Pull one out the night before and let it thaw in the fridge, or take one frozen and it’ll be ready to eat by mid-morning. Some people prefer eating them slightly frozen for a chewier texture.
One bar makes a suitable low FODMAP portion for breakfast. Remember that while blueberries are low FODMAP in small amounts, eating multiple bars in one sitting could push you over the threshold. Pair your bar with a cup of lactose-free yoghurt or a handful of nuts for more protein and staying power.
These bars work well as a mid-morning snack or post-workout fuel. The combination of quinoa protein and oat carbohydrates gives you steady energy without the blood sugar spike you’d get from shop-bought cereal bars. Take them to work, pack them for travel, or keep them on hand for those moments when you need something safe and satisfying quickly.
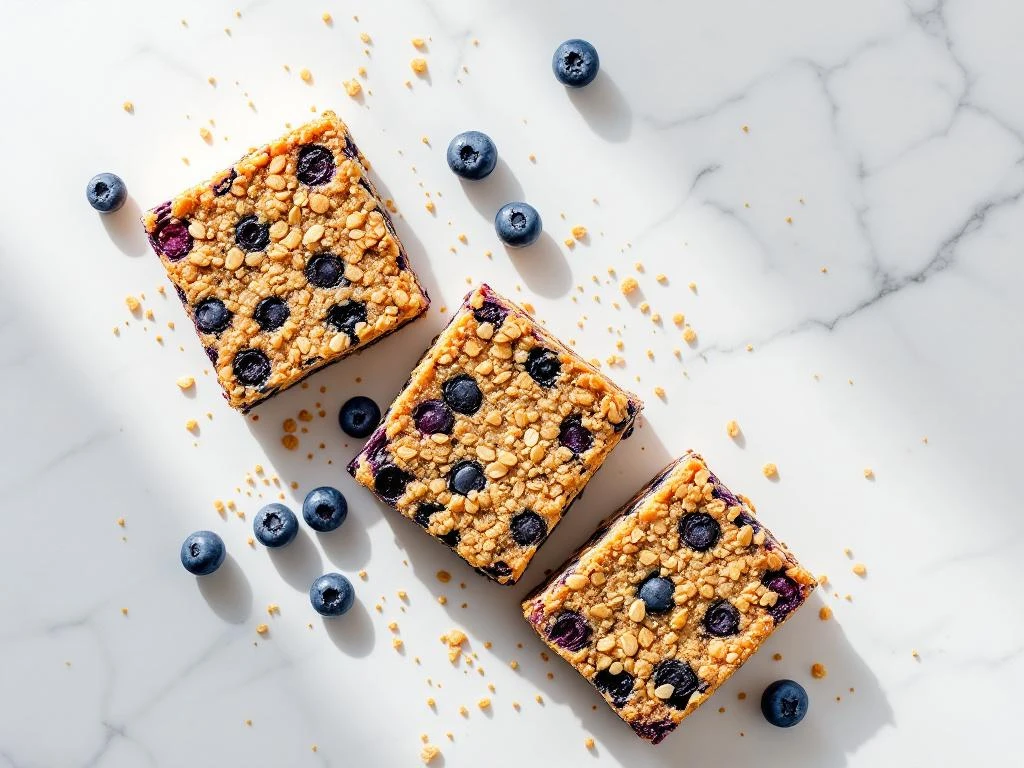
Blueberry quinoa breakfast bars
Cooking Time: 40 minutes (plus cooling) | Portions: 12 bars
- 150g cooked quinoa (from 60g dry quinoa)
- 100g certified gluten-free oats
- 100g fresh or frozen blueberries
- 80ml pure maple syrup
- 60ml melted coconut oil
- 2 tablespoons ground flaxseed mixed with 5 tablespoons water
- 1 teaspoon vanilla extract
- Pinch of salt
Steps:
- Cook quinoa if needed and let cool completely
- Prepare flax egg by mixing ground flaxseed with water, let sit 5 minutes
- Preheat oven to 180°C (160°C fan) and line a 20cm square tin with parchment paper
- Mix cooled quinoa, oats, melted coconut oil, maple syrup, flax egg, vanilla, and salt in large bowl
- Gently fold in blueberries without crushing
- Press mixture firmly into prepared tin, ensuring even thickness
- Bake for 25 minutes until edges are golden and center is set
- Cool completely in tin (at least 1 hour) before cutting into 12 bars
- Store in airtight container in fridge for up to 5 days or freeze for up to 3 months
This recipe is for informational purposes only and is not medical or dietary advice. Please consult a healthcare professional before making any changes to your diet.