Making your own pumpkin seed granola at home gives you complete control over ingredients, which matters when you’re managing IBS symptoms. This homemade granola recipe is gluten free, low FODMAP, and designed to be gentle on your digestive system whilst delivering satisfying crunch and nutrition. You’ll need about 30 minutes of active time plus cooling, basic baking equipment, and simple ingredients you can find at most supermarkets. This guide walks you through each step to create a batch of IBS friendly granola that stays fresh for weeks.
Why pumpkin seed granola works for IBS
Pumpkin seeds are naturally low FODMAP in appropriate portions, making them an excellent choice for anyone following this diet. Unlike many nuts that can trigger symptoms, pumpkin seeds provide protein and healthy fats without the high FODMAP content. They contain magnesium and zinc, which support overall digestive health and immune function.
Store-bought granola often contains high FODMAP ingredients like honey, dried fruit, and wheat. Even products labelled as healthy can include inulin, chicory root, or other FODMAP-rich additions that cause digestive distress. When you make homemade granola, you choose every ingredient and control portion sizes precisely.
This low FODMAP granola recipe uses maple syrup instead of honey, keeping sweetness whilst staying within dietary guidelines. The oats are gluten free and well-tolerated by most people with IBS when eaten in measured amounts. Making your own batch means you know exactly what goes into your breakfast, eliminating the guesswork that comes with packaged foods.
Gather your low FODMAP granola ingredients
You’ll need these ingredients to make approximately 8 servings of pumpkin seed granola:
- 200g gluten free rolled oats (ensure certified gluten free)
- 100g pumpkin seeds (pepitas)
- 50g flaked coconut (unsweetened)
- 3 tablespoons maple syrup (pure, not pancake syrup)
- 2 tablespoons coconut oil or olive oil
- 1 teaspoon vanilla extract
- ½ teaspoon ground cinnamon
- ¼ teaspoon salt
For equipment, gather a large mixing bowl, baking tray, parchment paper, wooden spoon, and measuring cups. A small saucepan helps warm the wet ingredients, though this is optional.
Substitution options include using sunflower seeds instead of pumpkin seeds if preferred, though both are low FODMAP. You can replace coconut oil with any neutral oil. Skip the coconut flakes if you’re avoiding them, adding more pumpkin seeds instead. The key is maintaining the ratio of dry to wet ingredients for proper texture.
Each serving size should be roughly 45g to stay low FODMAP. This equals about half a cup of finished granola. Larger portions may contain enough oats to exceed FODMAP thresholds, so measure carefully when serving.
Mix and prepare your granola base
Preheat your oven to 160°C (320°F). Line your baking tray with parchment paper to prevent sticking and make cleanup easier.
Combine the oats, pumpkin seeds, coconut flakes, cinnamon, and salt in your large mixing bowl. Stir these dry ingredients thoroughly so the spices distribute evenly. This ensures every bite of your homemade granola has balanced flavour.
In a separate small bowl or saucepan, mix the maple syrup, oil, and vanilla extract. If the coconut oil is solid, warm it gently until liquid. You don’t need it hot, just melted enough to pour easily. Pour this wet mixture over your dry ingredients.
Use your wooden spoon to fold everything together, coating the oats and seeds evenly with the liquid. The mixture should look slightly glossy but not soaking wet. Every cluster should have contact with the maple syrup mixture, as this creates the crunch when baking. Take your time with this step, spending about 2 minutes mixing thoroughly.
The texture before baking should be sticky but not clumpy. If it seems too dry, add another teaspoon of oil. Too wet means it won’t crisp properly, so avoid adding extra maple syrup beyond the recipe amount.
Bake your pumpkin seed granola to perfection
Spread your granola mixture across the prepared baking tray in an even layer. Don’t pile it up, as this prevents even browning. Aim for a layer about 1cm thick across the entire tray.
Place the tray in your preheated oven on the middle rack. Set a timer for 15 minutes. The total baking time will be 25 to 30 minutes, but you’ll need to stir partway through.
After 15 minutes, remove the tray and use your wooden spoon to gently turn the granola. Bring the edges toward the centre and spread everything out again. The edges brown faster than the middle, so this stirring ensures even cooking. Return the tray to the oven immediately.
Bake for another 10 to 15 minutes, watching carefully during the final 5 minutes. Your gluten free granola is done when it turns golden brown and smells toasted. The pumpkin seeds may pop slightly, which is normal. The mixture will still feel somewhat soft when hot but crisps up during cooling.
Remove the tray from the oven when you see even golden colouring. Don’t wait for it to look completely crisp, as it will continue cooking from residual heat. Burnt granola tastes bitter, so pull it out when it’s light golden rather than dark brown.
Let the granola cool completely on the tray without stirring. This takes about 45 minutes at room temperature. As it cools, the maple syrup hardens and creates those satisfying crunchy clusters. Breaking it up whilst warm prevents cluster formation, so resist the temptation to taste it immediately.
Store and serve your homemade granola
Once fully cooled, break the granola into chunks with your hands. Store it in an airtight container or jar at room temperature. Glass jars work particularly well for maintaining crunchiness. Properly stored, your FODMAP friendly breakfast will stay fresh for 3 weeks.
Keep the container away from heat and moisture. Don’t refrigerate it, as this can make the granola soft. If it does lose crispness, spread it on a baking tray and warm it in a 150°C oven for 5 minutes, then cool again.
Remember the low FODMAP serving size of 45g, which provides a satisfying breakfast without triggering symptoms. Measure your portions, especially when you’re in the elimination phase of the diet. A kitchen scale helps ensure accuracy.
Serve your pumpkin seed breakfast with lactose-free milk, yoghurt, or plant-based alternatives like almond milk in low FODMAP portions. Top it with fresh strawberries, blueberries, or a sliced banana for added nutrition. You can also sprinkle it over smoothie bowls or eat it as a crunchy snack straight from the jar.
For meal prep, portion individual servings into small containers or bags at the start of your week. This makes busy mornings easier and helps you stick to appropriate serving sizes. The granola works well as a topping for lactose-free yoghurt parfaits or mixed with fresh fruit for a quick breakfast.
This homemade granola recipe gives you a reliable breakfast option that supports your digestive health whilst tasting delicious. The combination of gluten free oats and pumpkin seeds provides sustained energy without the worry of hidden FODMAP ingredients found in commercial products.
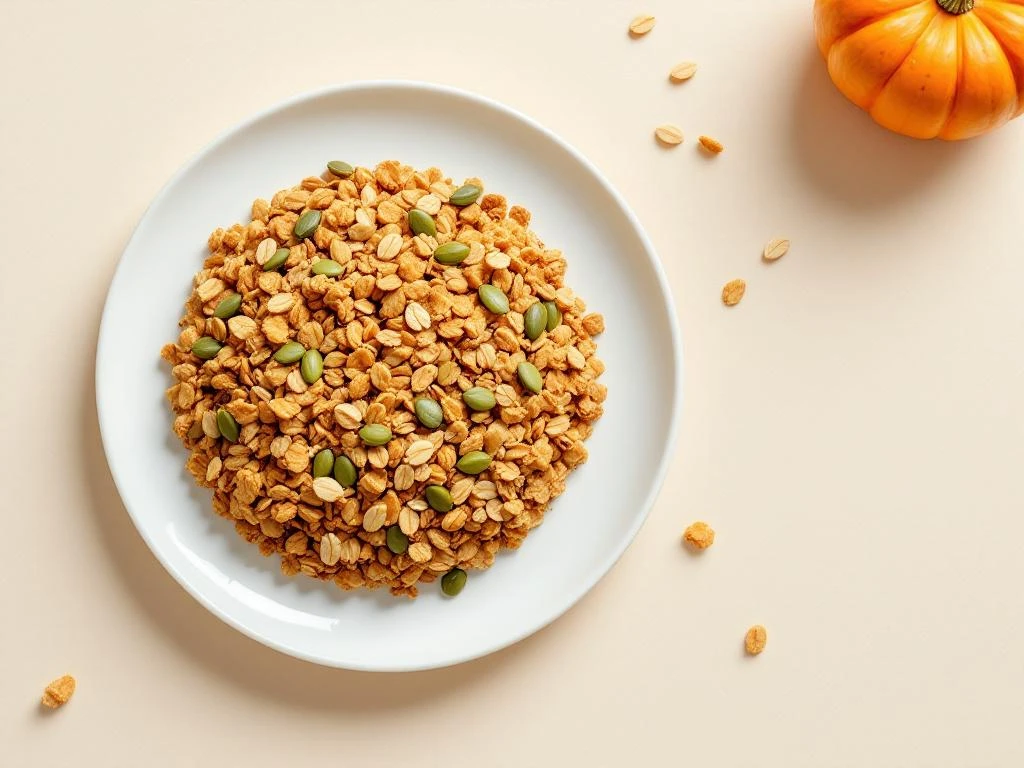
Pumpkin seed granola
Cooking Time: 30 minutes plus cooling | Portions: 8 servings
- Preheat oven to 160°C and line a baking tray with parchment paper
- Mix 200g gluten free oats, 100g pumpkin seeds, 50g coconut flakes, cinnamon, and salt in a large bowl
- Combine 3 tablespoons maple syrup, 2 tablespoons oil, and vanilla extract
- Pour wet ingredients over dry and mix thoroughly until evenly coated
- Spread mixture in an even layer on the prepared tray
- Bake for 15 minutes, stir gently, then bake another 10 to 15 minutes until golden
- Cool completely on the tray without stirring (about 45 minutes)
- Break into clusters and store in an airtight container for up to 3 weeks
- Serve 45g portions with lactose-free milk or yoghurt and low FODMAP fruit
This recipe is for informational purposes only and is not medical or dietary advice. Please consult a healthcare professional before making any changes to your diet.