Looking for a healthy snack that won’t upset your stomach? These peanut butter protein balls are perfect for anyone following a low FODMAP diet. They’re simple to make, require no baking, and deliver a satisfying energy boost without triggering IBS symptoms. You’ll need about 15 minutes of active time to prepare a batch that lasts all week.
This recipe is beginner-friendly and requires minimal kitchen skills. You’ll need basic measuring tools, a mixing bowl, and your hands for shaping. The ingredients are straightforward and easy to find, with most items already in your pantry. These homemade protein balls give you control over every ingredient, ensuring they stay FODMAP friendly while satisfying your cravings.
Why peanut butter protein balls are perfect for low FODMAP diets
Peanut butter protein balls fit naturally into a low FODMAP lifestyle because they use ingredients that are gentle on your digestive system. Peanut butter is low FODMAP in moderate servings, and when combined with certified gluten free oats and the right protein powder, these energy balls become a safe snack option for managing IBS symptoms.
The protein content in these balls helps stabilise your blood sugar and keeps you feeling full between meals. Each ball delivers a concentrated source of energy without the bloating or discomfort that many processed snacks cause. The combination of healthy fats from peanut butter and protein creates a satisfying treat that curbs cravings effectively.
These no bake protein balls excel as meal prep champions. Make a batch on Sunday and you have grab-and-go snacks ready for the entire week. They’re portable enough to toss in your bag for work, travel, or post-workout fuel. Unlike many commercial protein bars that contain high FODMAP ingredients like honey or dates, these FODMAP friendly snacks give you complete control over what goes into your body.
Gather your ingredients and tools
Start with one cup of natural peanut butter as your base. Choose a brand with just peanuts and salt, avoiding added sugars or oils. You’ll need one cup of certified gluten free rolled oats, which provide texture and help bind everything together. Add half a cup of low FODMAP protein powder in your preferred flavour. Vanilla or unflavoured work best for versatility.
For sweetness, use two tablespoons of maple syrup or rice malt syrup. Both are low FODMAP options that add just enough sweetness without overdoing it. Optional add-ins include two tablespoons of dark chocolate chips (check they’re dairy free) or a tablespoon of chia seeds for extra nutrition.
Your kitchen tools are simple. Grab a medium mixing bowl, measuring cups and spoons, and a baking sheet lined with parchment paper. You might also want a small cookie scoop for uniform sizing, though your hands work perfectly fine.
Ingredient substitution options
If peanut butter isn’t your preference, swap it for almond butter or sunflower seed butter in equal amounts. Both are low FODMAP alternatives that work well. For the oats, quinoa flakes make a good substitute if you want to try something different. When selecting protein powder, look for options that don’t contain inulin, chicory root, or high FODMAP sweeteners. Whey protein isolate or rice protein typically work well for those following this diet.
Always check labels for certified low FODMAP products when possible. The Monash University FODMAP app helps verify ingredients if you’re unsure about a specific brand.
Mix and shape your protein balls
Place your peanut butter in the mixing bowl along with the maple syrup. Stir these together until they’re well combined and smooth. This creates your wet base that holds everything together. Add your protein powder next, mixing thoroughly to avoid lumps. The mixture will become quite thick at this stage.
Pour in your gluten free oats and any optional add-ins you’ve chosen. Use a sturdy spoon or your hands to work everything together. The mixture should feel slightly sticky but firm enough to hold its shape when squeezed. This is the right consistency for rolling.
If your mixture feels too dry and crumbly, add peanut butter one tablespoon at a time until it comes together. Too wet and sticky? Add more oats, one tablespoon at a time. The texture should be similar to cookie dough that holds together when pressed.
Shaping techniques
Scoop about one tablespoon of mixture and roll it between your palms to form a ball. Apply gentle but firm pressure to compact the ingredients. If the mixture sticks to your hands, lightly wet your palms with water or rub a tiny bit of oil on them.
Place each finished ball on your lined baking sheet. You should get roughly 20 balls from this recipe, depending on your sizing. Keep them uniform so they’re easier to portion and track for your meal planning.
Store and enjoy your protein balls
Transfer your peanut butter energy balls to an airtight container once you’ve shaped them all. Store them in the refrigerator where they’ll stay fresh for up to two weeks. The cold temperature keeps them firm and makes them more satisfying to eat.
For longer storage, these healthy protein balls freeze beautifully. Place them in a freezer-safe container with parchment paper between layers to prevent sticking. They’ll keep for up to three months frozen. Thaw individual balls in the refrigerator overnight or let them sit at room temperature for 15 minutes before eating.
These easy protein balls work best as a mid-morning or mid-afternoon snack when you need sustained energy. One or two balls typically provide enough protein and healthy fats to keep you satisfied until your next meal. They’re also excellent as a pre-workout snack about 30 minutes before exercise.
Meal prep and portioning tips
Package individual servings of two balls each in small containers or bags for grab-and-go convenience. This makes portion control effortless and ensures you always have a FODMAP friendly option available. Label your containers with the date you made them so you can track freshness.
These protein ball recipe creations taste best when eaten cold from the refrigerator. The texture firms up nicely, making them less messy to handle. If you prefer a softer texture, let them sit at room temperature for a few minutes before eating.
Watch your serving sizes to keep them low FODMAP. Two balls per sitting is a good guideline, giving you the benefits without overdoing any single ingredient. Space out your snacks throughout the day rather than eating multiple servings at once.
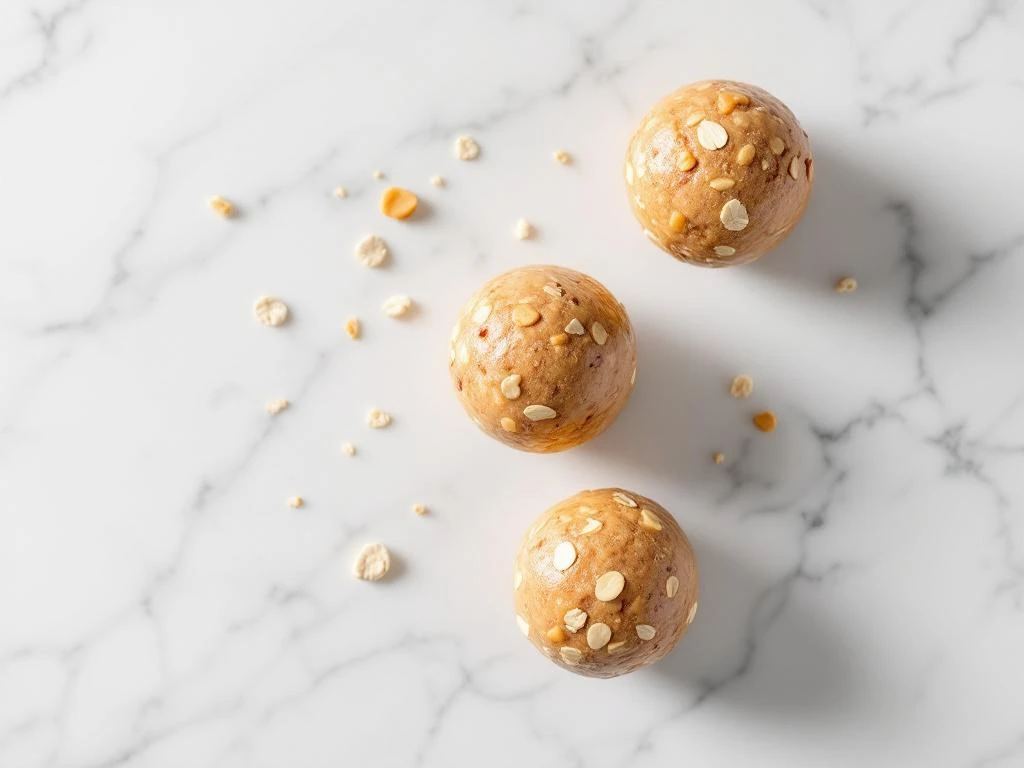
Peanut butter protein balls
Cooking Time: 15 minutes | Portions: 20 balls
- 1 cup natural peanut butter (just peanuts and salt)
- 1 cup certified gluten free rolled oats
- ½ cup low FODMAP protein powder
- 2 tablespoons maple syrup or rice malt syrup
- Optional: 2 tablespoons dark chocolate chips or 1 tablespoon chia seeds
Steps:
- Mix peanut butter and maple syrup until smooth in a medium bowl
- Add protein powder and stir until well combined
- Mix in oats and any optional add-ins until mixture holds together
- Adjust consistency with more peanut butter if too dry or more oats if too wet
- Roll tablespoon-sized portions into balls using your palms
- Place on parchment-lined baking sheet
- Refrigerate in airtight container for up to 2 weeks or freeze for up to 3 months
- Enjoy 1-2 balls as a snack for optimal energy and digestive comfort
This recipe is for informational purposes only and is not medical or dietary advice. Please consult a healthcare professional before making any changes to your diet.